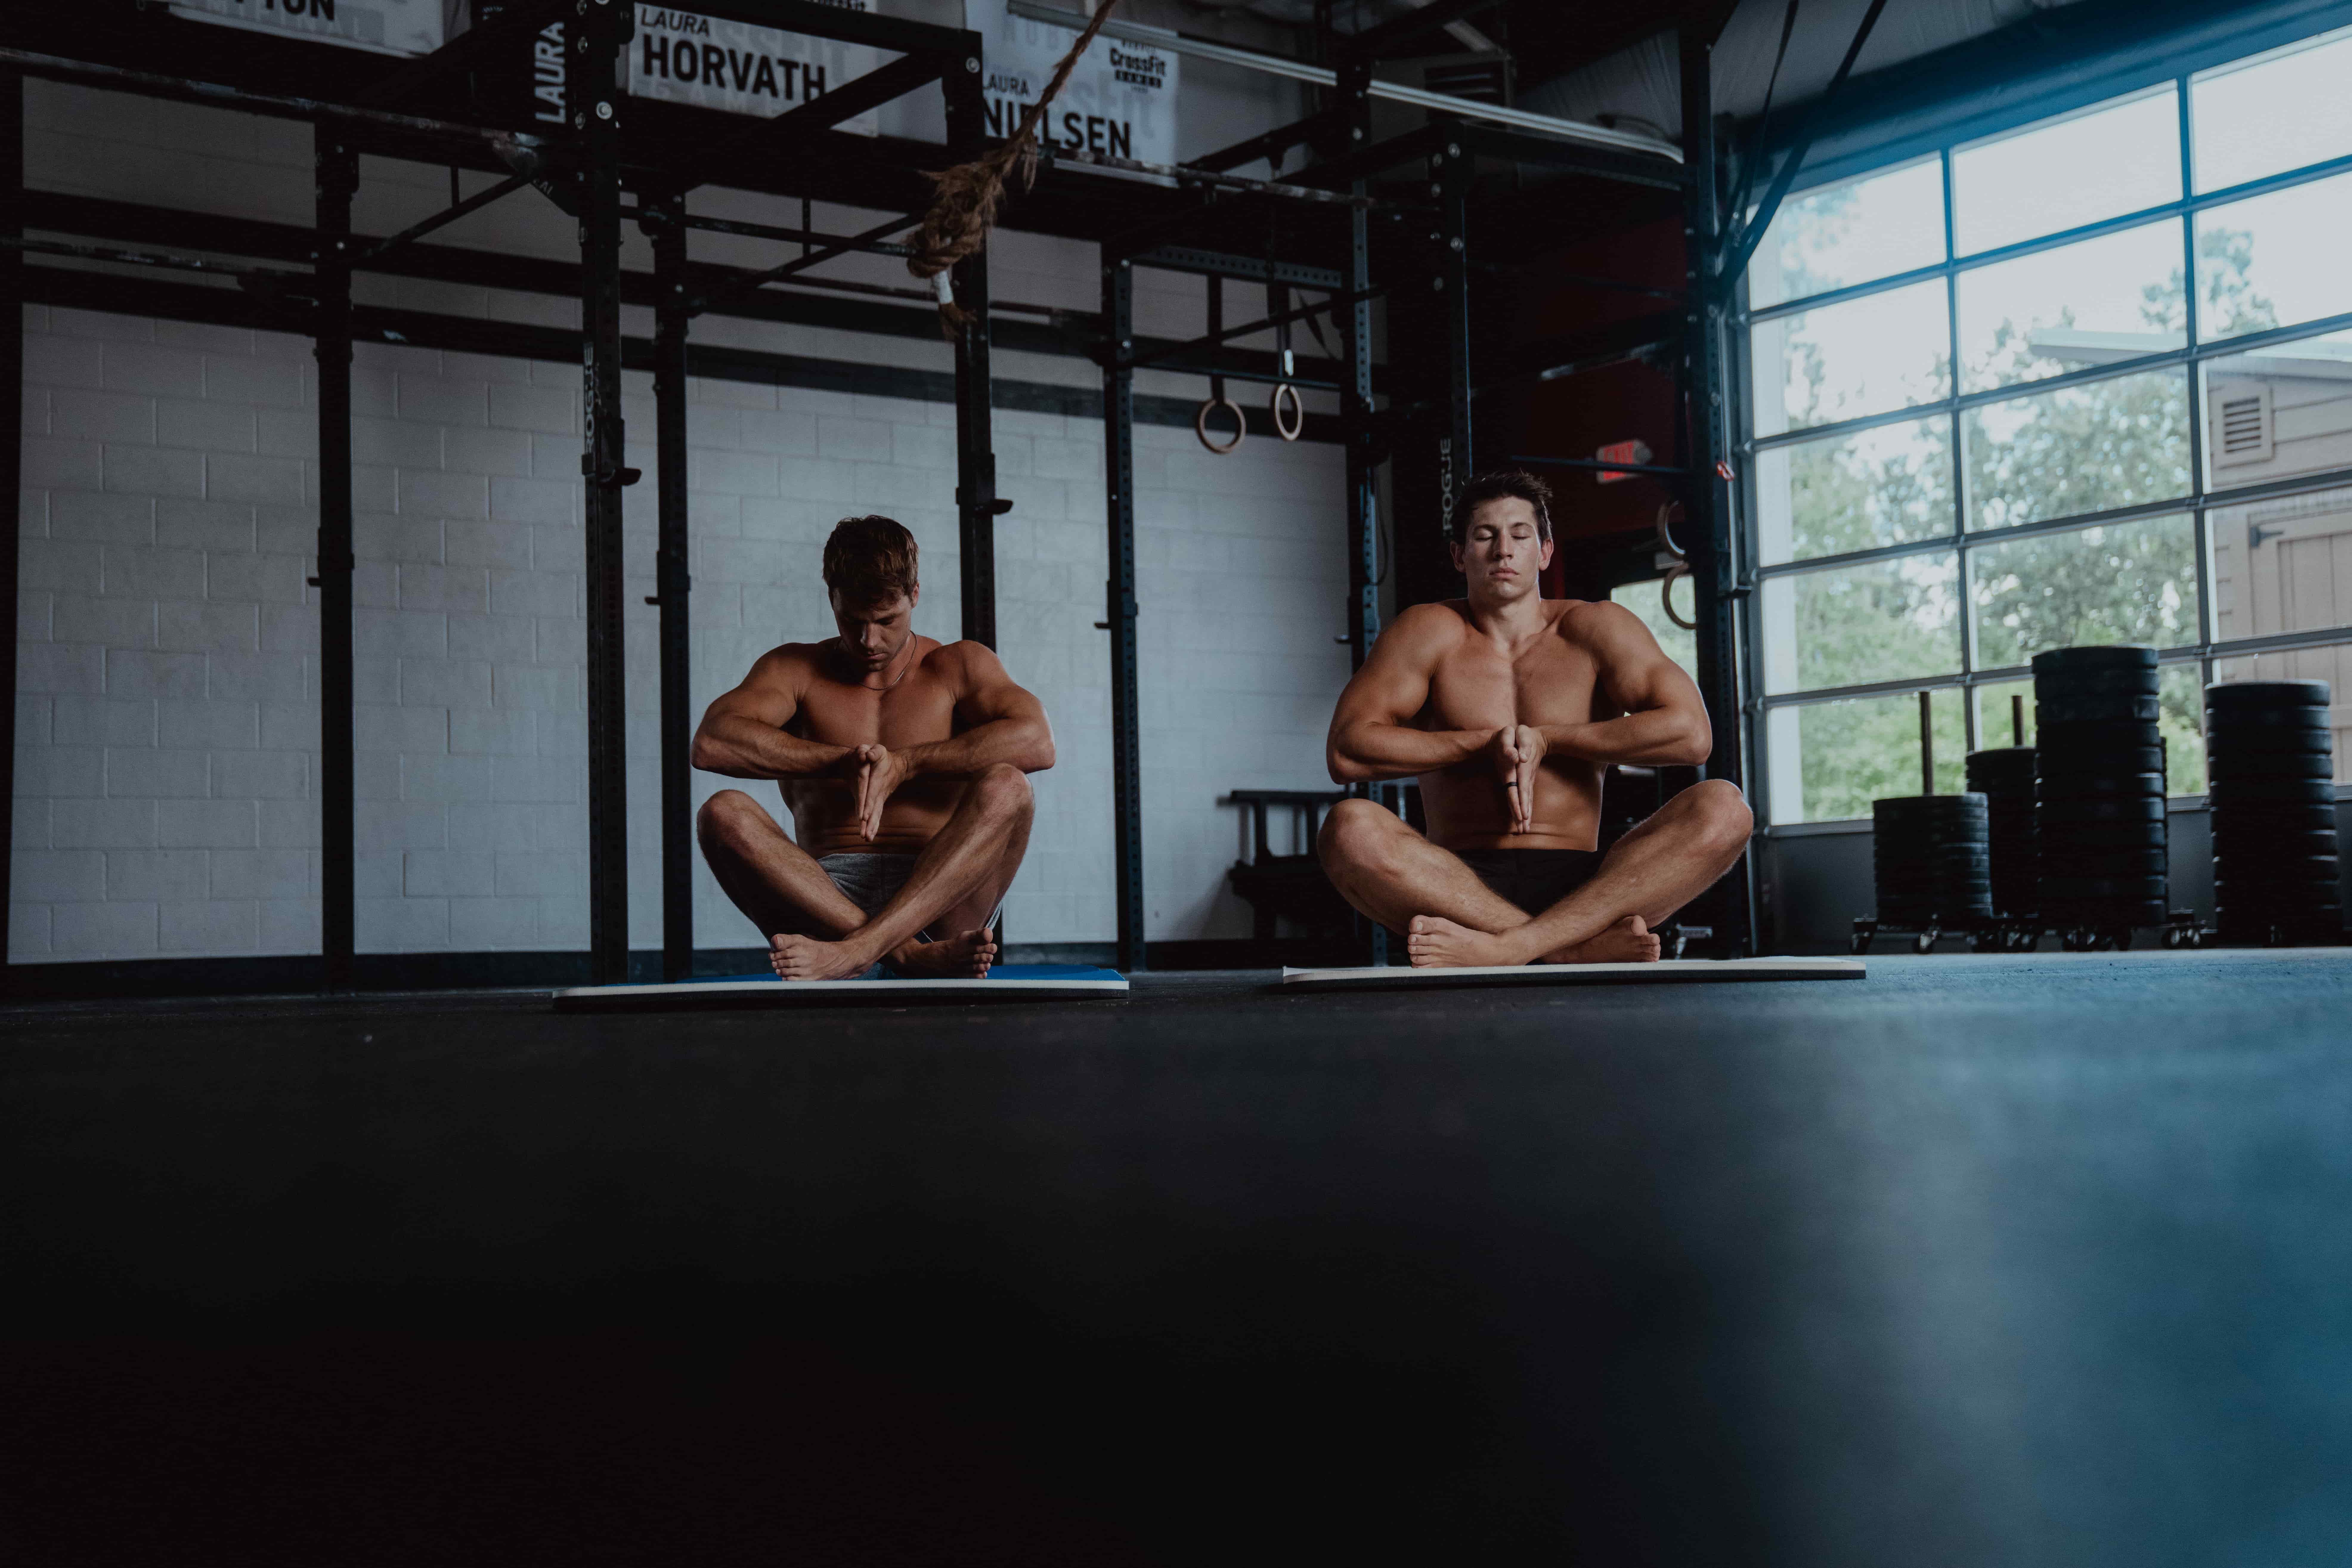
40+ Assorted Lower Body Mobility Exercises for Active Living
.webp)
Stiffness and discomfort in your lower body can make it challenging to perform daily tasks, let alone enjoy your favorite hobbies or sports. Whether you’re just getting back into mobility exercises after some time off or are looking to recover from an injury, lower body mobility exercises can help relieve pain and restore function. This blog will cover the importance of lower body mobility exercises and how they can help you return to life. We will also provide a handy list of movements to get you started.
One of the best ways to improve lower body mobility is using Pliability’s mobility app. With a library of over 500 targeted routines and recovery exercises, the app can help you achieve greater flexibility, strength, and pain-free movement in the lower body.
What Is Lower Body Mobility?

Lower body mobility refers to the flexibility and range of motion of the:
- Hips
- Legs
- Ankles
It greatly impacts everyday movements such as:
- Walking
- Climbing stairs
- Getting up from a seated position
Benefits of Mobility
The more mobile your lower body is, the easier these tasks become. Improved lower body mobility also enhances athletic performance and reduces injury risk. As you increase your flexibility and range of motion, you can better stabilize your joints to prevent strains and sprains.
Why Lower Body Mobility Matters for Health and Performance
Maintaining lower body mobility is crucial for overall fitness and quality of life. Whether you're an athlete striving for peak performance or someone seeking to enhance daily activities, these exercises can significantly improve your:
- Flexibility
- Stability
- Range of motion
Consider incorporating these top 10 exercises into your routine to improve lower-body mobility. They:
- Prevent injuries
- Alleviate stiffness
- Promote better posture
Why Lower Body Mobility is Key For Any Lifestyle

Mobility, the ability to move freely without stress on the body, is a crucial component of any lifestyle. Lower body mobility, in particular, is essential for athletic performance and daily functioning. We rely on effective lower body movement to complete any activity, from walking to structured exercise.
Taking care of some of your largest muscle groups, like the lower body, is increasingly important as you age or start using them in dynamic ways, such as a workout. To dig into the details, we talked with Peloton Tread instructor Matty Maggiacomo about maintaining and improving your lower body mobility.
How Does Lower Body Mobility Help Your Ability Level Throughout Any Workout?
Lower body mobility is vital to being healthy as an athlete and functioning human. To protect ourselves from injury, we need to be able to move effectively through all of the major joints in our lower body, from our core to our hips, knees, ankles, and even our toes.
As we grow older, we tend to become increasingly less mobile. For athletes, being mobile helps boost performance in obvious ways, but most importantly, an athlete needs to be able to move their joints through a full range of motion.
What Factors Could Be Hindering Someone’s Ability to Increase Their Mobility?
Whether you have an active or inactive lifestyle, we put a lot of stress on our bodies. In the case of someone active, not taking the necessary time to warm up before workouts and stretch post-workout can cause limited mobility, increasing the risk of injury.
Repetitive motion, such as running, may strengthen certain muscles (quads and calves) while simultaneously stretching or weakening others, like our glutes, and limiting movement through specific ranges of motion. On the other hand, someone who lacks an active lifestyle will almost certainly suffer from limited mobility.
Causes of Loss
Many of us are forced to remain in the same position throughout the day, either hunched over a computer or a steering wheel. Not moving enough to utilize all muscles and joints through their intended movement patterns will cause a person to lose lower body mobility. I say, "move it or lose it!"
Age is another factor of losing lower body mobility or mobility in general. As we age, we experience some degree of bone density loss and muscle atrophy, which in turn causes cartilage to deteriorate, making it more difficult for the musculoskeletal system to move as it did during our younger years.
The Benefits of Improving Lower Body Mobility
There are several benefits to improving mobility and flexibility, including:
- Aids in muscle function: Mobility can facilitate the flow of oxygen-rich blood to the muscles. Improved blood flow helps the muscles function and supports movement.
- Can alleviate stress: Research has shown that loosening tight muscles can decrease tension, and you might feel relaxed.
- Increased mobility decreases the risk of falls. Increased mobility improves balance, which is essential as you age. Reduced balance puts older adults at risk of falls and fractures.
- Improves posture: Decreased balance and flexibility might cause you to slouch or slump over. Increasing the range of motion can improve posture, which also helps prevent injuries and back pain.
- Increases range of motion: Stretching the ligaments, muscles, and tendons helps the joints move freely. As a result, you can move and perform daily activities easily.
- Prevents injuries: Decreased flexibility can increase the risk of muscle strains, which causes discoloration, pain, and swelling. Strains happen if you stretch a muscle too much, causing it to tear.
Related Reading
- Ankle Mobility Exercises
- Knee Mobility Exercises
- Shoulder Mobility Exercises
- Hip Mobility Exercises
- Thoracic Mobility Exercises
- How To Improve Flexibility
- Wrist Mobility Exercises
- Stretch Before Or After Workout
- Leg Mobility Exercises
- Best Stretching Routine
- Mobility Exercises For Beginners
- Mobility Exercises For Athlete
- Back Mobility Exercises
5 Lower Body Mobility Exercises for Pain-Free Aging

1. ASMR Quads and IT Band (ITB) - Lower Body Mobility Routine
The first two exercises we’re going to do require a foam roller. It’s active self-myofascial release of the quads and the IT band. So it’s slightly different than just rolling around on it. We’re going to start with the roller just above the knee.
Rolling Technique
We’re rolling for about a minute on each side. As we roll down, we’re going to bend the foot towards the butt. So, flex the knee and then reset. Go nice and slow, hitting different areas in the muscle and actively contracting the hamstrings as we roll the roller up the muscles.
This helps to release the quads. Activating the hamstrings and glutes will be more effective than just rolling around.
ASMR Quads and ITB - Lower Body Mobility Routine
- Lay prone, using your elbows for support, and position the roller just above the knee on the quad.
- Push your body backward so the roller moves up toward your hip. Simultaneously, use your hamstrings to pull your heel toward your butt.
- Reset & repeat.
- Switch sides after 1-2 minutes. Do 1-2 minutes per side.
- Breathe naturally throughout and go back to the quads.
We’re working on tissue quality and flexibility, ensuring that our muscles and fascia can lengthen fully to full range of motion.
- Roll on the different angles of the quads, right along the middle and the outside.
- Do the groin area and the rectus femoris (top of your quad.)
- Go nice and slow.
- Remember to do your IT band, too (which runs along the outside of your thigh.)
2. Extended Knee Ankle Fl-Ex
Now that we’ve improved the tissue quality, it’s time to learn how to reduce knee pain with knee/ankle movements. We will activate the quadriceps, focus on the VMO, and keep the rectus femoris along the middle as relaxed as possible. We start with the roller just under the middle of the thigh, resting on the hamstring.
Extended Knee Ankle Fl-Ex Exercise
Ramp up the activation of the quads, and tap that VMO to get it on.
- Extend the knee, keeping that activation of the quads.
- Plantar flex at the ankle (point the toe, but keep the toes relaxed).
- Push the bottom of the foot down for 5 seconds.
- Dorsiflex the ankle. Think of pulling the foot up, not necessarily the toes.
- Keep the knee extended the whole time.
- Go to neutral with the quads still on strong.
- Keep the quads on down, then relax.
Exercise Variation
We’re going to do 3 reps on each side with 5-second activations.
- When you’re ramping up the quads, try to keep the rectus femoris off.
- Just push down into the roller a little bit, and that activates the glutes, shuts off the rec fem.
- Don’t let the knee bend as you go through the ankle movements, firing up the calves here. Then, dorsiflexing, firing up the tibialis anterior.
- Try to pull that foot up, keeping the quads on the whole time. When you ramp up the quads, make sure that VMO is on. You can tap it to wake it up. That’s important for knee health.
- Extend the knee. Having this full range of knee extensions is extremely important for knee health.
- Keep the quads on as you point the toe and plantar flex at the ankle. That’s the Extended Ankle Fl-Ex exercise.
It’s great for activating the quads, working that terminal knee extension ankle range of motion, and working ankle dorsiflexion and plantar flexion.
3. Supine Hip PNF
Next up is the Supine Hip PNF. We’re going to do two reps in each direction. It’s important to maintain even left-right pressure under your butt as you’re doing this exercise. You will do a big circle with your leg with some thigh rotation at different circle points.
Supine Hip PNF - Lower Body Mobility Exercises
- Lift the right leg up, and bring it across your body internally.
- Rotate the thigh in as far as you can, keeping that even left-right pressure under your butt. Then, with both knees straight, do a big circle with one leg.
- Bring the leg back down toward the bottom of the circle.
- On the way up, externally rotate, turning the thigh out, lifting it up and out, and flexing the hip to the ground if you can.
- Then, sweep it back in.
- We’re doing two circles in each direction on each leg.
Go nice and slow and under control. It’s one of the ABCs: alignment, breathing, and control. Slow internal rotation, sweeping feet together, and that’s one side, two reps in each direction on that side.
4. Hinged Knee Fl-Ex
This exercise is called the Hinged knee Fl-Ex. It works the hinge movement pattern, but we’re starting in this standing position with the active arch, that’s the short and skinny foot exercise that we have in the:
- ROM Coach app
- Other articles
Start with spreading your toes, then make your foot short by pulling the forefoot towards the heel. Make it skinny by pulling the ball of your foot together toward the middle. That creates the active arch, which gets those intrinsic foot muscles fired up. That’s important for long-term lower body health, not just in the feet and the ankle, but the whole lower body.
Exercise Steps
Start with the short and skinny foot, slight knee bend, and activate the pelvic floor and the glutes. (You can activate the pelvic floor by activating the muscles you would use to stop your pee mid-stream.) Ensure the pressure for your glutes is even between the heel and the forefoot.
- Keep your knees slightly bent.
- Hinge over.
- Think of activating the hip flexors to pull yourself over.
- Fire up the muscles and contract the hip flexors to pull yourself over.
- Try to tilt the pelvic anteriorly. Good alignment. Good posture through the spine.
- You'll feel your hamstrings are tight once you’re at the end range. All that activation remains on. Then you’re going to fire up the quads on one side.
- Fully straighten the knee.
- Hold for 2 seconds. You’ll feel good hamstring lengthening and return.
- Fire up the quads on the other side, and hold for 2 seconds at that end range of motion.
- Return. Then, with all those activations, stand back up. That’s one cycle.
- Do two more cycles. You can relax and then reset.
Hinged Knee Flexion Extension - Lower Body Mobility Exercises
- Activate the active arch, pelvic floor, and glutes, and slightly bend the knees.
- Hinge slowly, pulling yourself with the hip flexors.
- At your end range, fire up the quads to straighten one leg.
- Hold for 2 seconds.
- Return and straighten the other leg.
- Hold for 2 seconds.
- Return to standing, keeping those activations.
- Relax everything.
- Do 3 cycles with 2-second activations.
It’s an excellent exercise for anybody with SI joint issues or activating the quads, lengthening the hamstrings, and integrating the whole lower body into that hinged position so it’s solid and stable.
5. Activated Squat
The final exercise we’re doing is the Activated Squat. For the Activated Squat, we’ve got that active arch again. That’s key. We’re training them to use it in these fundamental movement patterns. So fire up the feet and get that active arch going again.
The pelvic floor and the glutes. Ramp up the glutes now and make sure we’ve got a little bit of internal rotation. We’re turning the thighs in very slightly. That gets the hip flexors and the high short adductors fired up. We’re going for ultimate stability and complete activation.
Squat Variation
Maintain that activation pattern, and then we’ll squat nicely and slowly. Go as low as you can while maintaining that activation pattern (feet, pelvic floor, glutes, hip adductors, hip flexors) up, and then relax everything.
Activated Squat - Lower Body Mobility Exercises
- Get in the starting position.
- Activate active arch, pelvic floor, glutes, hip adductors, hip flexors.
- Squat down slowly, with no momentum.
- Slowly rise back up when you’re as low as you can go while maintaining stability.
- Relax and reset.
- Do 3 slow reps.
13 Leg Mobility and Flexibility Exercises

1. Reverse Lunge With Side Ben
Targets hip flexors and lower back mobility. To perform a reverse lunge with a side bend:
- Start standing with your feet together
- Step your right leg back into a reverse lunge, with both knees bent and pelvis tucked forward.
- Squeeze your right glute.
- Reach your right arm overhead, bend your torso to the left and reach your left arm across the body.
- On the last rep, hold here for 10 seconds.
- Repeat twice, then switch sides.
2. Squat to Forward Fold
This exercise targets mobility of the hamstrings, lower back, ankles, shoulders, and neck.
- Start standing with your feet slightly wider than hip-width apart, and bend forward to grab your toes or ankles.
- Drop into a deep squat, keeping your chest up and engaging your hamstrings as you lower.
- Use your elbows to push against your knees and create tension in your butt and hamstring.
- Hold here for 10 seconds on the last rep.
- Tuck your head down and lift your butt, straightening your legs only as much as you can without losing contact with your toes or ankles.
- Do the move two more times.
3. Low Lunge With Rotation
The low lunge with rotation improves hip flexors, mid-back, neck, and shoulder mobility.
- Start in a plank position, with your shoulders over your wrists and your spine aligned from your neck to your hips.
- Step your left foot forward, placing it outside of your left hand.
- Keep your right leg extended with one knee off the ground and glute squeezed.
- Place your left hand behind your head.
- Slowly rotate to the left, your elbow reaching the sky, moving through your mid-back.
- Push into the floor with your right hand.
- Rotate your left elbow down and toward your right elbow.
- Hold here for 10 seconds on the last rep.
- Place your left hand back down and step your left foot back to the plank.
- Repeat two times, then switch sides.
4. Shin Box to Forward Step
Mobility for hips and glutes improves with this exercise. To do a shin box to forward step:
- Sit on the floor with your right leg bent about 90 degrees, shin in front of you, and your left leg bent about 90 degrees, shin to the side.
- Hinge forward at your hips, keeping your spine neutral, with your torso facing directly forward.
- Squeeze your glutes to lift your hips off the ground.
- Put weight on your right knee, step your left foot forward into a half-kneeling position, stretch into your right hip flexor, and squeeze your right glute.
- Hold here for 10 seconds on the last rep.
- Step your left foot back to the starting position and lower your hips to the ground.
- Repeat two times, then switch sides.
5. Lateral Lunge to Plank Walkout
This exercise mobilizes the inner thighs. To perform a lateral lunge to plank walkout:
- Stand with your core engaged and feet apart, 6 to 10 inches wider than your hips.
- Bend your right knee and hinge into your right hip, keeping your back flat and your left leg straight.
- Push back to the starting position, and repeat on another side.
- Reach forward from a standing position with a straight back enough that your palms touch the floor.
- Hold here for 10 seconds on the last rep.
- Walk your palms out to a wide-leg plank position, shoulders over your wrists, knees straight, and spine aligned from your neck to hips.
- Tuck your head and walk your hands back to your feet.
- Repeat twice.
6. Wide Squat With Internal Rotation
This exercise targets hip mobility. To do a wide squat with internal rotation:
- Stand, your feet wider than hip-width apart.
- Stack your shoulders over your hips, engaging your core.
- Extend your arms in front of you and lower into a squat.
- Rotate your right leg by pivoting your foot, knee, and hip inward without moving your left leg.
- Hold here for 10 seconds on the last rep.
- Engage your left glute for greater internal rotation of your right hip.
- Rotate your right leg back to squat, then stand up.
- Do the exercise two more times, then switch sides.
7. Single-Leg Deadlift to Knee Drive
The single-leg deadlift to knee drive improves hamstrings, lower back, and glutes mobility.
- Start standing on your left leg, engaging your glute.
- Hinge at your hips, bringing your torso toward the floor and extending your right leg out behind you, your body in one straight line.
- Hold here for 10 seconds on the last rep.
- Drive through your left glute to stand back up, engaging your abs and bringing your right knee toward your chest.
- Squeeze it until you feel a stretch in your glute.
- Repeat two times, then switch sides.
8. Calf Raise
The calf raise, also known as the standing calf raise, is a bodyweight exercise that targets the muscle groups in your lower legs. To perform calf raises:
- Start in a standing position with your feet hip-width apart.
- Lift your body by pushing into the fronts of your feet, activating your calf muscles as you stand on your tiptoes.
- Return to a regular stance and repeat the movement pattern.
- Although calf raise exercises require no equipment, you can add a challenge by holding a kettlebell or a pair of dumbbells during the training.
9. Bulgarian Split Squat
The Bulgarian split squat, also known as the rear-foot elevated split squat, is a single-leg squat variation that uses your body weight to activate muscle groups. To perform Bulgarian split squats:
- Place your back foot onto an elevated surface.
- Keep your torso upright with a slight forward lean. Hinge your front knee and ankle, activating your front leg as you lower your body.
- Pause once your back leg is a couple of inches off the floor.
- Stand again and repeat this movement for your desired number of repetitions.
10. Single-Leg Glute Bridge
A single-leg glute bridge is a unilateral glute bridge variation that targets muscle groups throughout your body like the:
- Hamstrings
- Hip flexors
- Lower back muscles
- Gluteal muscles, including your gluteus maximus, gluteus medius, and gluteus minimus
To perform single-leg glute bridges:
- Lie on your back with your palms facedown by your side.
- Extend one leg, squeeze your glutes, and push into your other leg.
- While keeping your upper back in contact with the floor, lift your hips until your extended leg forms a straight line with your back.
11. Step-Ups
The step-up is a lower-body exercise that targets muscles in your legs. To perform step-ups:
- Stand before an elevated, knee-height surface like a plyometric box or bench.
- Place your right foot on top of the elevated surface and push through your right leg to lift your body onto it.
- Step down slowly with your left leg and perform the next repetition, leading with your left foot.
- You can use your bodyweight for this exercise or hold dumbbells throughout the movement for an added challenge.
12. Single-Leg Deadlift
The single-leg deadlift is characterized by a forward hip-hinge movement while lifting one leg off the ground and extending it backward. Single-leg deadlifts work muscle groups in your posterior chain, including your:
- Calf muscles
- Lower back muscles
- Hamstrings
- Glutes
13. Goblet Squat
A goblet squat is a full-body exercise characterized by performing a squat while holding a single free weight, like a dumbbell or kettlebell, in front of your chest. A goblet squat works muscles in your lower body like the:
- Glutes
- Quadriceps
- Hamstrings
- Calves, and it also works the core muscles in your upper body
9 Hip Mobility Exercises To Improve Stability, Strength & Flexibility

1. 90/90 Stretch
The 90/90 Stretch improves hip flexibility. It works both internal and external hip rotation.
How to Perform the 90/90 Stretch
- Start with both knees, creating 90 degrees.
- Bring your chest towards your knee, keep your back straight, and hinge from the hips. Do not round your spine. Feel a stretch in the glutes and side of your hip.
- Rotate back over the rear leg. If your left foot is back, turn over your left shoulder, lean back, and place your left hand on the floor.
- Make sure your back knee stays on the ground.
- Feel the stretch in the front part of your hip.
- Complete 10 reps on each side.
Why We Like This Hip Mobility Exercise
- This stretch does multiple things, which is a great bang for your buck.
- We get good hip flexion and work on gaining full external and internal rotation.
- If any of the three are limited, it can prevent you from getting full depth in your squat.
- Super simple yet super effective.
2. Deep Ring Squat Stretch
The deep ring squat stretch helps improve squat depth, hip and ankle flexibility and stability, and teaches better squat mechanics.
How to Perform the Deep Ring Squat Stretch
- Drop into a deep squat while holding rings as a counterbalance. Make sure your heels stay down. Get a hip crease below the knee.
- While in the stretch, exhale each time hard and empty your lungs. The exhales will engage the abdominals and help you create a posterior tilt in the hips.
- Hold for 15 deep breaths.
Why We Like This Hip Mobility Exercise
- This is a great way to teach the brain to get into the deep squat.
- If you are an athlete who is stuck in overextension, it will teach your hips how to get a posterior tilt.
- Loading and holding your body with the rings will help create a counterbalance for you if you struggle with gaining depth and allow you to get deep in the squat.
3. The Cossack Squat
The cossack squat is a lateral movement that improves hip flexibility, strength, and stability.
How to Perform The Cossack Squat
- Get in a wide stance.
- Go down into a deep side squat to a comfortable depth. Be sure to keep the heel down and knees tracking over the toe. The leg out to the side is there for balance while getting a stretch in the groin. If you can’t get deep while keeping the heel down, hold onto a doorway or on a pull-up rig to use as a counterbalance.
- Switch to the other side while staying in a low squat and do the same on the other leg.
- Complete 10 cossack squats while holding for 3 seconds on each side.
Why We Like This Hip Flexibility Exercise
This exercise allows us to load more legs to stretch through the load. Since we are isolating one leg, we can work on ankle mobility simultaneously. It will enable us to stress our adductors (the muscles inside the legs).
4. Side Box Step Offs
Side box step-offs improve hip control and work the glute medius, which is important for hip stability.
How to Perform Side Box Step Offs
- Stand tall with one leg off the side of the box. Make sure you start with your hips locked out.
- Lower yourself like you are going into a squat and lightly tap the outside heel on the ground. Maintain control throughout the whole range of motion.
- Stack your knees so they don't go in front of your toe line. Keep your heel down and chest up. Do 3 sets of 10-15 reps on each leg or until the glutes burn.
Why We Like This Hip Stability Exercise
- It develops the often underdeveloped glute medius, creating good single-leg stability and control.
- It's a good starting progression for the pistol.
5. Single Leg Deadlift
The single-leg deadlift is a great way to build hip strength and stability and improve balance.
How to Perform the Single Leg Deadlift
- Stand with one kettlebell in your hand with hips locked out.
- Proceed to lower the weight to the ground with a straight back while keeping the knee “soft”.
- Do not lock the knee out. When executing this exercise, start light and work your way up to a comfortable weight.
You should be able to feel the exercise in your hamstrings and glutes; if it’s in your lower back, shorten the range or lower the weight.
Exercise Variation
If it's painful on your hamstrings, shorten the range of motion to take out some of the tension to shorten the range of motion - lower the KB to a 45 bumper plate or some sort of small ledge.
For this exercise, complete 3 sets of 6-8 reps.
Why We Like This Hip Stability Exercise
- Training single-leg exercises in our double-leg positions and lifts is essential.
- This helps create structural balance between the adductors and abductors, prevents groin pulls, and teaches you to control your new mobility.
6. Bulgarian Split Squats
Bulgarian split squats are effective for improving both hip strength and stability.
How to Perform Bulgarian Split Squats
- Drop into a lunge with your back foot elevated and two dumbbells in your hand.
- Be sure to keep your knee tracking in line with your toes. Allow your knee to come towards the end of your toe line to mimic more of a single-leg squat.
Why We Like This Hip Stability Exercise
- Executing this movement will help you work on knee tracking for your two-legged squats.
- For this exercise, complete 3 sets of 6-8 reps.
- This exercise mimics the squat very well, but only on one leg.
- It will help work with knee tracking and strengthening glutes and quads.
- This will provide more stability and control in your squats.
7. Hip Thrust
Hip thrusts are a great way to improve glute strength and power, which in turn improves hip stability and strength.
How to Perform the Hip Thrust
Start out with dumbbells and as you progress in strength, move up to a barbell to achieve heavier loads.
- Put upper back on bench and DB in hip crease. Start with locked-out hips
- Dip slightly.
- Drive hips towards ceiling and lock them back out in position 1.
Why We Like This Hip Strength Exercise
- If you feel it in your lower back when executing this exercise and not your glutes, you usually use too much weight.
- If needed, you can use your body weight.
- For this exercise, you will complete 3 sets until you fail.
- The glutes are a slow twitch muscle, so they must be trained till fatigue for maximum development.
8. Glute Ham Developer
The Glute ham developer is a great way to strengthen the hamstrings and glutes for improved hip function.
How to Perform the Glute Ham Developer
- Have a partner put a foam roller on a pad underneath your ankles and your knees. Start with hips locked out and belly button pulled in.
- Tilt forward slowly while controlling the descent with the hamstrings.
- Fall into the push-up position once you feel you can no longer control the descent.
- To get back up, use a push-up-like motion to help you come back up while also pulling back up with the hamstrings. Use as little or as much push-up as you need to get back up.
- Finish in the locked-out position.
Why We Like This Hip Strength Exercise
- When completing this exercise, be sure to do it until sub-fail.
- Your hamstrings will feel like they are ripping if your hamstrings are weak.
- Try to go light on them and not control as much of the ROM if you feel like this.
- For this, 3 sets until sub-failure reps. (Right before the failure position)
9. Midline holds
Midline holds can be performed with the following:
- Kettlebells
- D-Balls
- Atlas stones
How to Perform Midline Holds
Pick up and hold whichever apparatus you choose.
Why We Like This Hip Strength Exercise
- While executing this exercise, keep your belly button pulled in and your chest upright.
- If you keep the weight in front of your body, you should feel your erector spinae muscles in your back working to hold you upright.
- For this, you can hold till failure or take the weight for a walk till failure
Related Reading
- Golf Mobility Exercises
- Upper Body Mobility Exercises
- Mobility Exercises For Runners
- Can You Over Stretch
- Squat Mobility Exercises
- Functional Mobility Exercises
- Why Stretching Is Important
- Foot Mobility Exercises
- Arm Mobility Exercises
- Hamstring Mobility Exercises
- Elbow Mobility Exercises
- Rotator Cuff Mobility Exercises
- Bed Mobility Exercises
- What Are Mobility Exercises
- Full Body Mobility Exercises
3 Lower-Body Mobility Drills to Help You Get Stronger
.jpeg)
Increasing hip mobility as part of your leg-day warm-up will often help you achieve more depth in all of these lifts. And the lower you go (without compromising proper alignment), the more you activate new muscle fibers.
Since strength comes from activating more muscle fibers and getting them to work together, mobility naturally helps you get stronger as you recruit more muscles in your lifts. Now the question shifts from how hip mobility improves strength to: “How do you get your body to go lower during all of these leg-day lifts?”
Which Hip Mobility Drills Are Right For You?
Perform each of these test movements to find the right hip mobility drills for your leg-day warm up. Then, check out some demonstrations below to fine-tune your form.
1. Hip Hug Test
- Lie on your back. Keep one leg straight while you bring the other knee to your chest. Ask yourself the following:
- Does the back of your straight leg maintain contact with the floor? If not, you need a hip flexor opening mobility drill (see Drill A).
- Can you hug the other leg to your chest without discomfort in the front of your hip? If not, you need a posterior hip gliding drill (see Drill B).
2. Knee-to-Armpit Test
Stay on your back as you were in the hip hug test. Keep your straight leg straight while you bring your bent knee toward your armpit on the same side of your body (i.e. right knee toward right armpit). Ask yourself the following:
- Does the back of your straight leg maintain contact with the floor? If not, you need a groin muscle opening mobility drill (see Drill C).
- Can you hug your bent knee close to the side of your torso without discomfort in the front of your hip? If not, you need a posterior hip gliding drill (see Drill B), and a groin muscle opening mobility drill (Drill C).
3. Figure-4 Test
Again, stay on your back. Bend both knees close to 90 degrees. Put one ankle on the opposite thigh, and try to hug your legs in this shape toward your chest. Ask yourself the following:
- Can you hug the entire figure-4 shape toward your chest without a pulling sensation in the back of your glutes or lower back?
- If not, you need a gluteal and low back stretch. And yes, stretching pre-workout is OK, especially if you aim to increase a specific movement for the following workout (see Drill D).
How to Perform Each Hip Mobility Drill
Did you complete the steps above to identify your personalized drills? If not, start there because this is not a four-exercise-fits-all approach. If you don’t have natural mobility in all hip directions, doing all of the drills might limit your motion even more.
Once you know which drills to add to your circuit, read on!
Hip Flexor Opening
The hip flexor opening looks like a lunge because it is a lunge — with a few details added!
Follow these steps:
- Either kneel on the floor or assume a lunge position. Any variety of lunge can work.
- Squeeze your glutes and abs to tuck your tail under as if you are trying to point your tailbone at the heel of your lead leg.
- Don’t skip this step! This step is what makes the drill work.
- If you have good balance, intensify the drill by raising your arms up toward the ceiling and even arching back a little.
- Repeat on the other side.
Posterior Hip Glide
The downward dog yoga pose is a fantastic way to convince your hips to glide back and down in their sockets, freeing up mobility on the front side of the hips.
Follow these steps:
- Start in a yoga downward dog position. Your legs should be away from each other, and for this drill, it is OK to bend the knees, too!
- Try to get your heels to the floor. If that's too intense, elevate your hands on an aerobic step or yoga block.
- Imagine that someone is pulling your tailbone up toward where the ceiling and wall meet behind you.
- This detail is what creates the hip glide that you seek!
- If this position is too much, try a yoga child’s pose, focusing on relaxing the front of the hip sockets instead.
Groin Opener
The butterfly stretch makes a great groin opener.
Follow these steps:
- Start seated in a butterfly position.
- You can decrease the intensity by sitting on an aerobic step, plyometric box, or weight bench. The higher your sitting surface, the lower the intensity.
- If sitting is uncomfortable, you can lie on your back to do the butterfly instead.
- You want to find a position you can relax into as you open your knees away from each other.
Seated Figure 4
The seated figure four with a spinal twist not only opens the back side of the hips but also includes the spine in a much-needed coordinated stretch.
Follow these steps:
- Begin sitting in a figure-4 position.
- Sit up tall. If your back is rounding, sit on a higher surface, such as an aerobic step, plyo box, or chair.
- Twist to look over your shoulder, anchoring the back of your forearm on your outer thigh.
- Allow your head and eyes to be part of the spinal twist; they will help you go further!
- Repeat on the other side.
Sets and Reps for All Hip Mobility Drills
In your pre-workout leg-day warm-up, first perform your drills for four sets of 30-second holds.
After completing all four rounds, do a fifth round. But in the fifth round, instead of holding, slowly move into and out of the position for 10 repetitions. Remember to breathe and try to relax; breathing opens your mobility further.
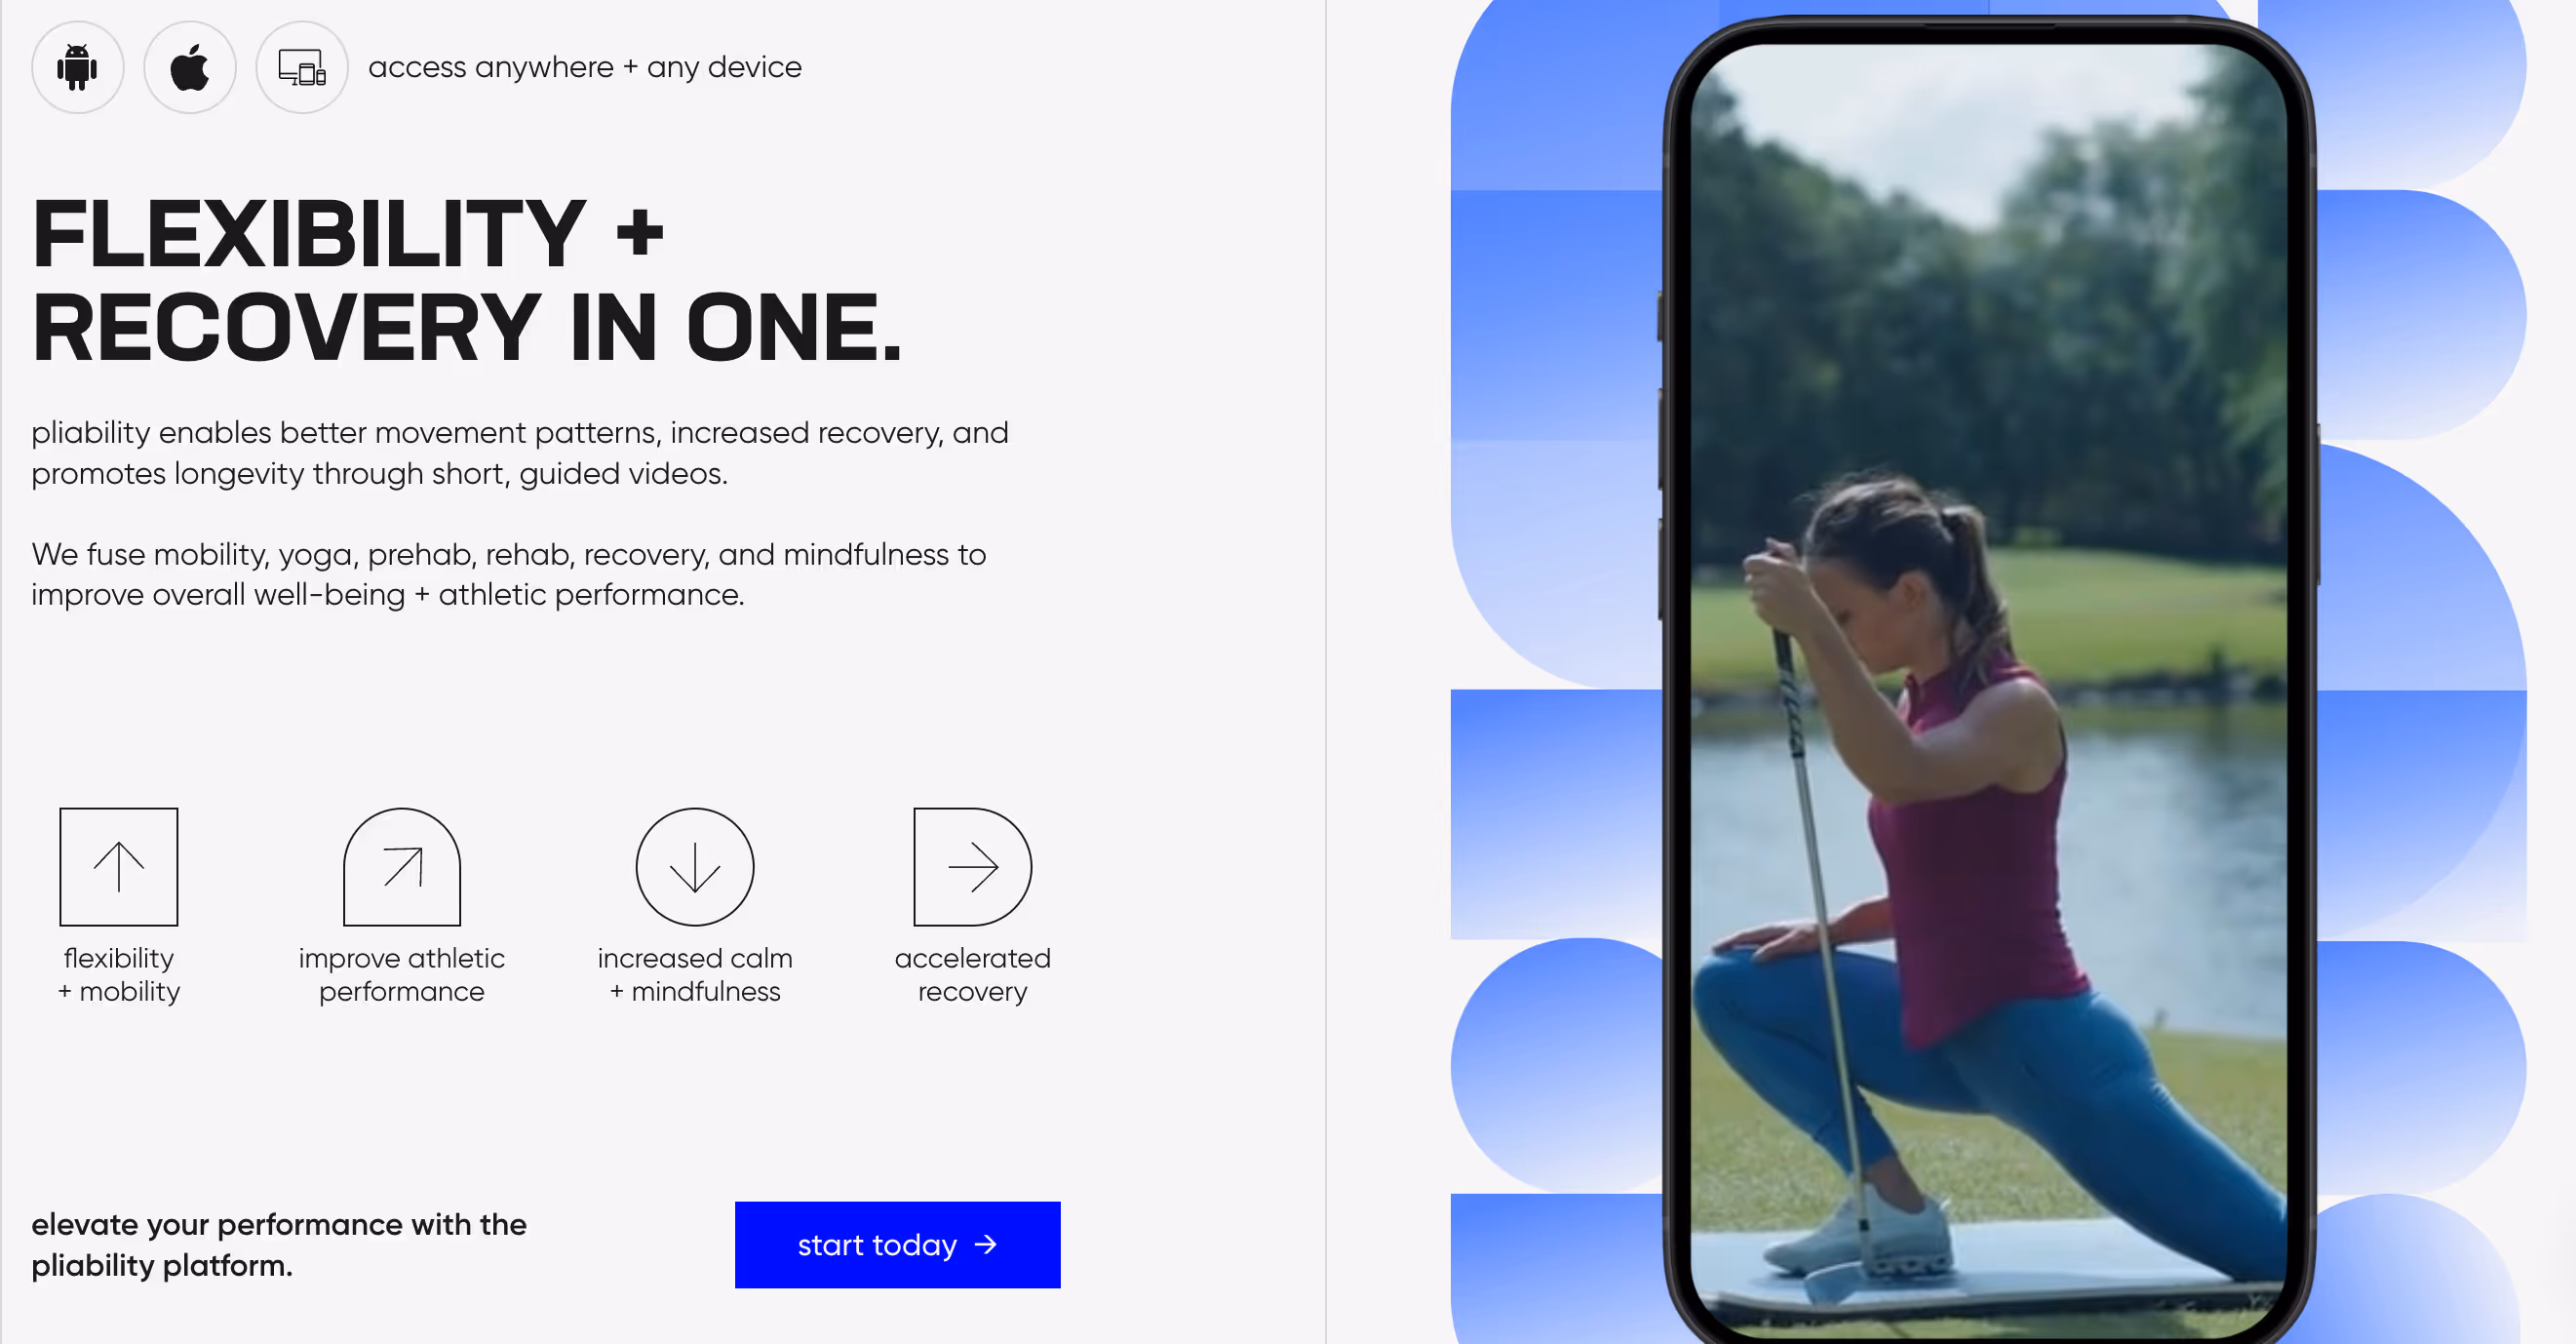
Pliability for Enhanced Mobility and Recovery

Pliability offers a fresh take on yoga tailored for performance-oriented individuals and athletes. Our app features a vast library of high-quality videos designed to:
- Improve flexibility
- Aid recovery
- Reduce pain
- Enhance the range of motion
Pliability provides daily updated custom mobility programs for those interested in optimizing their health and fitness. It also includes a unique body-scanning feature to pinpoint mobility issues if you're feeling limited by pain or your ability to move.
Pliability Trial
Pliability aims to complement your existing fitness routine and help you move better. Sign up today for seven days free on iPhone, iPad, Android, or our website to improve flexibility, aid recovery, reduce pain, and enhance the range of motion with our mobility app.
15 Best Leg Exercises for Strength and Functional Mobility
-min.jpeg)
1. Prisoner Get-Up
The prisoner get-up is a lower-body and torso exercise that forces you to avoid using your arms to help you balance. Thus, you will build the ability to move and stabilize yourself using only the lower body and lower torso muscles.
How To Perform A Prisoner Get-Up
- Place your hands behind your head with your palms against the back. (This is where the exercise name comes from.)
- Keep your arms in this position for the entire exercise.
- Kneel on one knee and then on the other knee so that you’re in a full kneeling position.
- Get back up onto one foot and then the other, ending in a deep squat.
- Stand up, as in a bodyweight squat.
- Go back down into a full squat.
2. Bodyweight Squat
The bodyweight squat is your go-to squat for warming up and cooling down or working out at home, work, or while traveling. It works on you:
- Quads
- Glutes
- Calves
- Lower back
While you won’t build the kind of muscle mass that you can with weighted squats, bodyweight squats allow you to go deep, focus on perfecting your form, and work your lower body throughout the day, grease the groove style.
How To Perform A Bodyweight Squat
- Stand with your feet hip width apart and pointed forward with your hands at your sides.
- Slowly squat down until your butt goes slightly below your knees.
- As you squat, bring your arms up before your face or chest.
- Reverse step 2, standing back up (but not quite to where your knees are locked) and dropping your arms back to your sides.
3. Jump Squat
Jump squats work the quadriceps and glutes — the same as other squat variants. By jumping explosively, you build power and engage the nervous system more heavily without as much muscular fatigue as a weighted squat.
This makes jump squats ideal as a warm-up or a less-fatiguing, power-focused squat variant on days you know you’re under-recovered. Because they build explosive power, they’re also great for athletes who have to jump as part of their sport, like basketball and volleyball players.
How To Do A Jump Squat
- Stand with your hands at your sides and your feet shoulder-width apart.
- Squat down until your thighs are horizontal, bringing your arms to your chest.
- Explode upward and jump straight up, swinging your arms down for extra power.
4. Bodyweight Deadlift
The bodyweight deadlift is identical to a barbell deadlift, except you’re not holding anything, so you’ll keep your hands behind your head. It works the same muscles as a weighted deadlift, but because the back extensors are slow-twitch dominant while the hamstrings are fast-twitch dominant, it works the lower back much more than the hamstrings.
The gluteus maximus also helps push the hips forward as you come up. This exercise is ideal for people who want a low-intensity lower-back workout, can’t deadlift safely, or want a minimally fatiguing way to practice proper deadlift form.
How To Perform A Bodyweight Deadlift
- Stand with your hands behind your head, one over the other, palms facing your head, and elbows out to the sides.
- Your feet should be 4–6 inches apart.
- Push your hips back and bend forward at the waist while bending your knees slightly. (Note that you may want to let your arms hang down for your first repetition to test how low I’m going.
- Your hands should go low enough that you could pick up a barbell if there was one.)
- Pause at the bottom of each rep before slowly returning to the starting position.
- Watch your knees throughout this exercise.
- Don’t let them pass over your feet.
5. ISO Split Squat
The split squat is an iso-lateral squat variant that takes advantage of bilateral deficit, the phenomenon whereby you have more strength and power when moving asymmetrically while building balance and working the sides of your butt and thighs more effectively than more symmetrical squat variants.
An isometric hold allows you to focus on the bottom of the movement, which is both the most difficult part and the position that most emphasizes the glutes.
How To Perform An Isometric Split Squat
- Stand with one foot in front of the other. (Your feet should be as far apart as if you had taken a long step or were doing lunges.)
- Hold your arms out to your sides for balance.
- If you have an outstanding balance, you can put your hands on your hips instead.
- Squat down, as in a deep lunge, so your back knee hovers just above the ground.
- Hold this position for as long as possible.
6. Single-Leg Hip Lift
Hip lifts are an excellent exercise for your quads, gluteus maximus, and spinal erectors of the lower back. The single-leg hip lift adds an extra element of balance and brings the gluteus medius, at the sides of your butt, into play as well while taking advantage of the bilateral deficit to give me more power.

How To Do A Right Single-Leg Hip Lift
- Lay on your back with your knees bent and your arms out to the side, angled slightly toward your legs.
- Lift your right leg into the air, keeping the knee bent.
- Thrust your hips forward to lift your butt off of the floor, hold for a second, and slowly return to the ground.
7. Lateral Lunge
Lateral lunges are an excellent muscle-building or warm-up exercise that works the sides of the quadriceps and the sides of the butt, as well as stretches the inner thighs for greater leg flexibility.
Performed rapidly, lateral lunges also provide a mild cardio workout that can raise your core body temperature, effectively acting as a general and leg-specific warm-up.
How To Do A Right Lateral Lunge
- Stand with your feet together and your arms at your sides.
- Step your right leg far out to the right side.
- Bend your right knee so your thigh is almost parallel to the ground.
- At the same time, bring your left arm across your body.
- Reverse step 3, and then step 2.
- Perform lateral lunges alternately: right, left, right, left.
8. Jump Lunge
Jump lunges offer many of the same benefits as jump squats but with an added element of asymmetry. As such, they also work the gluteus medius (the sides of your butt) and the sides of the thighs, along with testing your balance more. Because they’re iso-lateral, jump lunges also benefit from the bilateral deficit.
How To Do A Jump Lunge
- Go into a right lunge: right foot forward and left back with your knee on the ground.
- Have your right arm up in front of your chest and your left arm back.
- Jump up explosively, pushing off your right heel and the ball of your left foot, and land in a left lunge position, swinging your arms so that your right arm is up in front and your left arm is back.
- Jump up explosively again, pushing off your left heel and the ball of your right foot, landing in a right lunge position.
9. Lateral Bound
The lateral bound is a jumping movement that provides a modest explosive workout for the quadriceps and calves. This leg exercise builds your balance by practicing hopping from one foot to the other. It is done quickly enough and acts as a mild cardio workout and an overall warm-up.
How to do a lateral bound
- Start in a normal standing position.
- Lift your left leg into the air and tuck it behind your right leg.
- Swing your right arm behind me and cross your left arm over your right hip.
- Using only your right leg, jump as far as you can to the left and land on your left foot with your right leg tucked behind your body and your arm positions reversed.
- Using only your left leg, you will jump as far as you can to the right and land on your right foot, with your left leg tucked behind your body and your arm positions reversed.
- Once you’ve started this exercise, keep your arms moving the whole time to balance yourself, and try not to stand on both feet simultaneously.
10. Quadruped Hip Extension
The quadruped hip extension is a functional mobility exercise that improves your ability to move your hips and legs backward, behind your body. This is useful for running, climbing, lunging, other lifestyle activities, and various sports.
How To Do A Right Quadruped Hip Extension
- Start by kneeling on your hands and knees. (For comfort, you’ll probably want your knees on a mat or pad.)
- Lift your right leg slightly off of the floor.
- Push your right leg, swing your hips back and up, and push the bottom of your right foot toward the ceiling behind you.
- Reverse step 3. (Optional) Reverse step 2, resting your leg momentarily before the next repetition.
11. Banded Side Step to Back Step
The banded side step to back step is a leg and hip mobility exercise that combines the banded side step and the banded back step. It effectively builds your ability to move your legs and hips in most directions against resistance.
How To Do A Right Banded Side Step To Back Step
- Put a short loop resistance band around your thighs and stand with your legs just far enough apart to keep the resistance band tight.
- Step right with your right foot as far as you can, then step right with your left foot so your feet are the same distance apart.
- Step back with your right foot as far as you can, then step back with your left foot so that your feet are the same distance apart that they were, to begin with.
12. Kettlebell Offset Squat
The kettlebell offset squat is an iso-lateral (in a sense) squat variant, where your leg position is symmetrical, but the weight you’re holding is not. It works your quads and glutes like any squat, but it forces your back and abs to work harder to stabilize your body.
It's also taxing on one arm while it holds the weight. As such, it uses more than half your muscles in one way or another.
How To Do A Right Kettlebell Offset Squat
- Hold a kettlebell in your right hand, right in front of, and resting against, your right shoulder.
- Stand with your feet hip-width apart and your left arm extended straight forward.
- Squat down until your thighs parallel the ground, keeping your arms in place.
- Come back up until your knees are straight but not locked.
13. Kettlebell Sumo Squat
Kettlebell squats are an easy way to perform weighted squats at home, but the kettlebell hitting the floor can limit the range of motion. The sumo squat avoids this by having you hold the kettlebell up rather than dangling it between your legs, so your quads, back, and glutes can be exercised through most of their range of motion.
How To Do A Kettlebell Sumo Squat
- Hold a kettlebell upside down, with your palms under either side.
- Stand with your feet wider than shoulder width.
- Squat down until your thighs are at least parallel to the ground.
- Stand back up, squeezing your butt and thighs as you do.
14. Kettlebell Deadlift
Deadlifts are one of the best exercises for your lower back and hamstrings. The kettlebell version can’t go as heavy as a barbell deadlift, but it’s easy to do at home for higher reps and doesn’t risk scraping a barbell against your leg.
Since deadlifts are so fatiguing, this is a great exercise to do throughout the day, grease the groove style.
How To Do A Kettlebell Deadlift
- Place a kettlebell on the floor and stand with your feet on either side of it.
- Bend your legs slightly and push your hips back to grab the kettlebell with both hands.
- Straighten your legs and back (without locking your knees) and stand up straight.
- Reverse steps 2 and 3, setting the kettlebell on the floor (but not taking your hands off of it) before the next rep.
15. Two-Kettlebell Racked Squat
The two-kettlebell racked squat is a squat variant that also works your arms by having them hold a pair of kettlebells in front of your shoulders.
Effectively, it’s a front squat that you can perform at home or at the gym with a pair of matched kettlebells, working your:
- Quads
- Glutes
- Back
- Arms
- Shoulders
How To Do A Two-Kettlebell Racked Squat
Hold a matched pair of kettlebells in front of — and resting against — your shoulders. (This is the same position as the “kettlebell offset” exercises described earlier, just with both hands.)
Stand with your feet hip-width apart and pointed forward (or angled just slightly outward). Slowly squat down until your thighs are at least parallel to the ground. Come back up slightly faster than you dropped down until your knees are straight but not locked.
How to Work Out Safely and Avoid Injury

Lower body mobility exercises can boost your strength and stability, making it easier to perform everyday activities. Like any exercise program, practicing these movements safely is important to avoid injury.
- Start by checking in with your doctor for any preexisting conditions or health concerns.
- Pay attention to your form and technique.
- Listen to your body and take breaks as needed.
Don’t Skip the Warm Up and Cool Down
Incorporating proper warm-ups and cool-downs into your routine is part of keeping your lower body mobility exercises safe.
- Warming up prepares your body for exercise by increasing blood flow to your muscles and enhancing flexibility.
- Cooling down helps your body return to rest and reduces soreness and stiffness.
Both routines should include dynamic movements that gently engage the muscles of the lower body.
Use Proper Form
When performing lower body mobility exercises, focus on using proper form. This will help you avoid injury and get the most out of your workouts. Pay attention to how your body feels throughout each movement.
Stop the exercise and reassess your technique if you notice any pain or discomfort. If necessary, consult a qualified personal trainer for assistance.
Listen to Your Body
It’s crucial to listen to your body when performing lower-body mobility exercises. If you have a preexisting injury, you may need to modify each exercise to avoid aggravating your condition.
Even if you don’t have any injuries, it’s essential to understand that everyone is different and some movements may not feel right for you. If you experience pain, stop the exercise and reassess your technique. Always prioritize your safety over making progress or improving your performance.
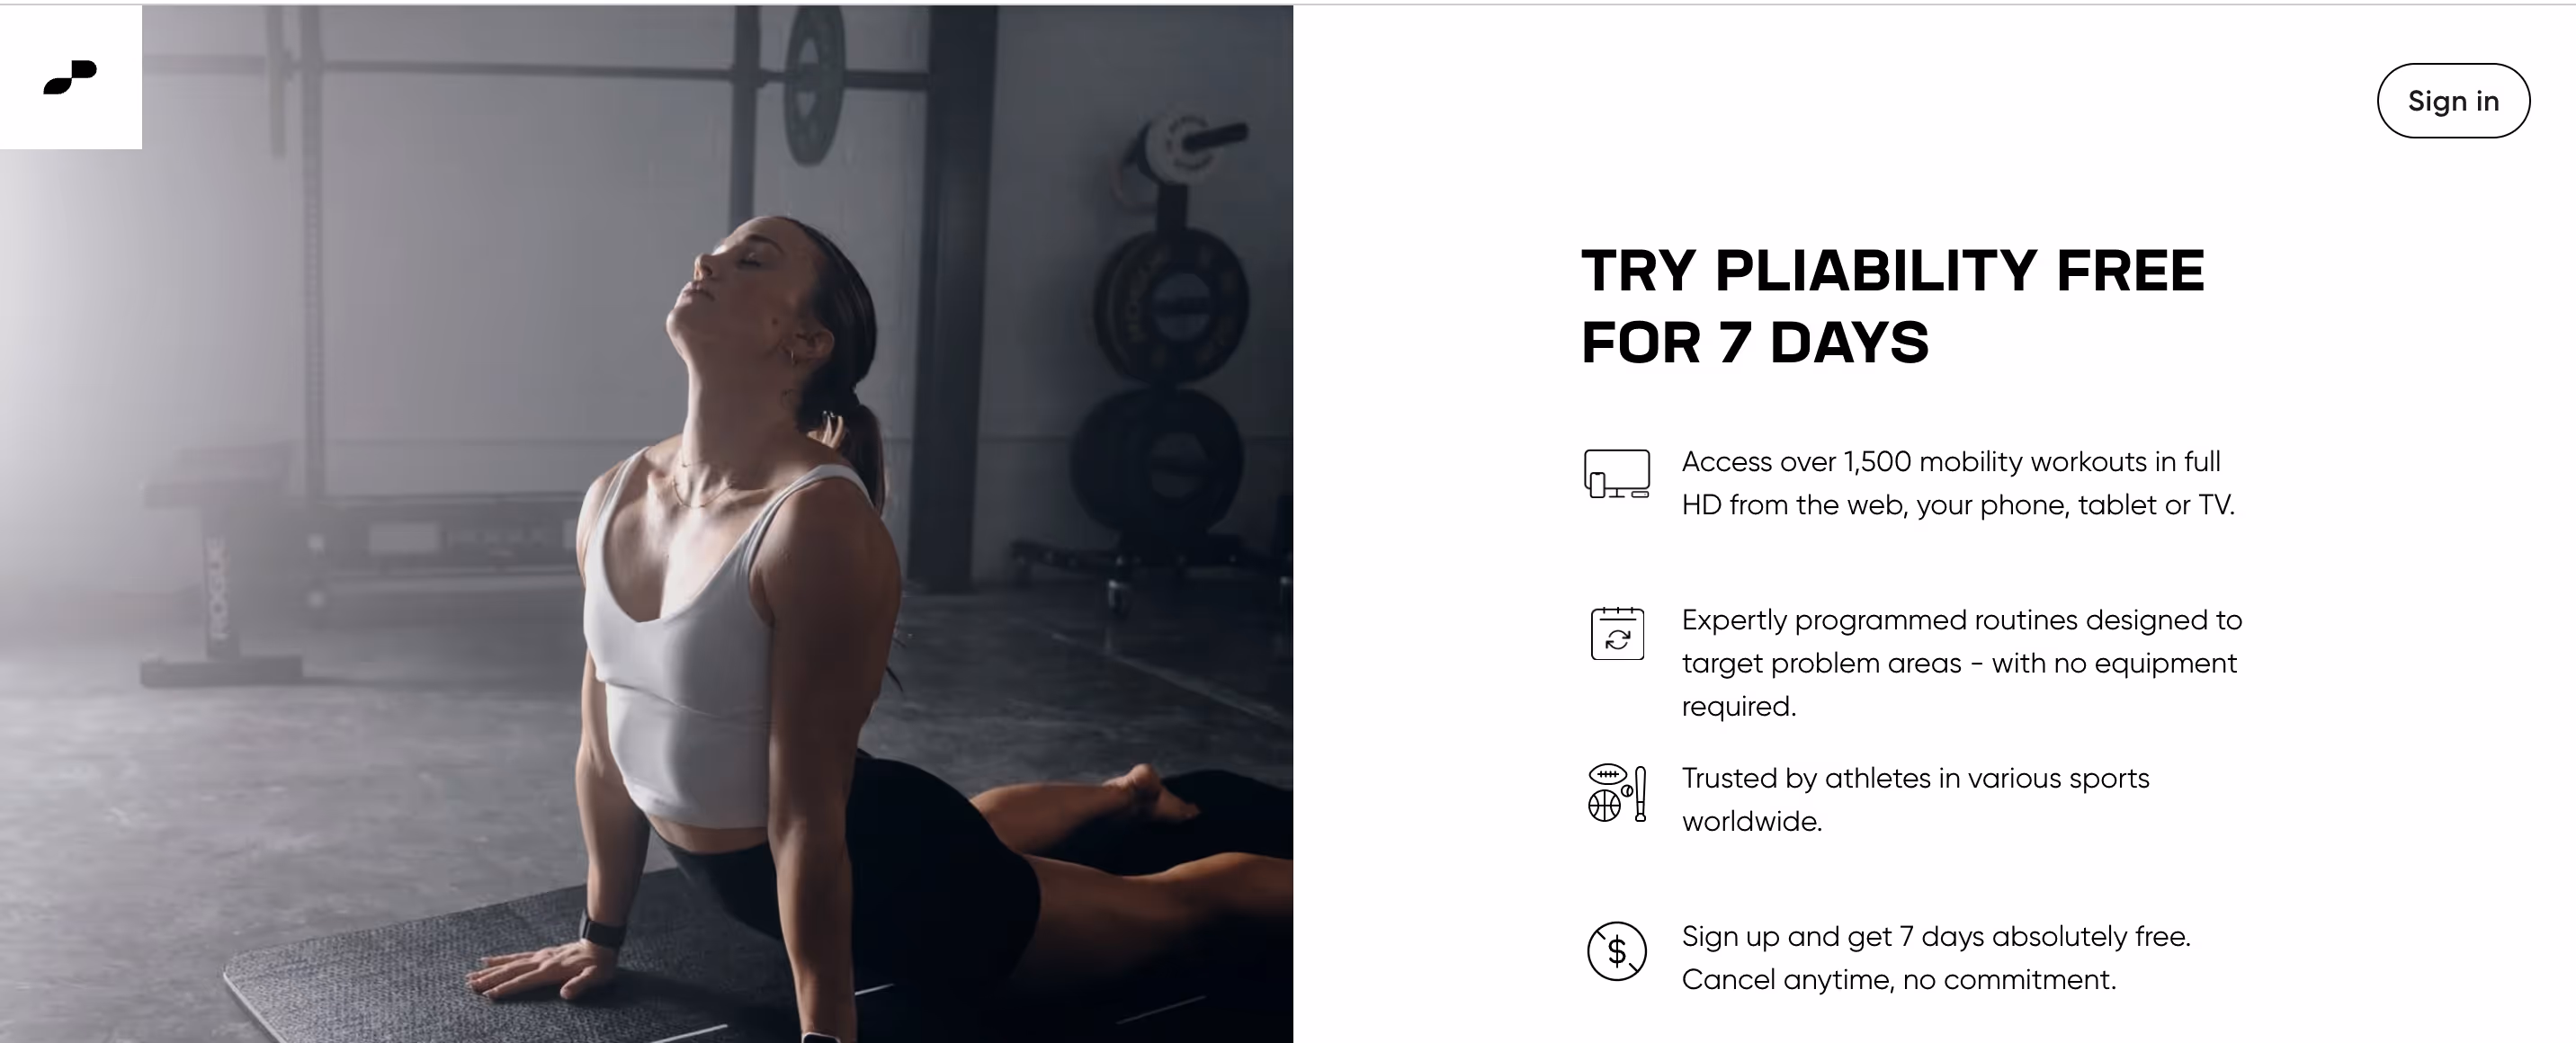
Improve Your Flexibility with Our Mobility App Today | Get 7 Days for Free on Any Platform
Pliability is a unique approach to improving mobility. While many think of yoga as relaxing and therapeutic, Pliability takes a performance-oriented approach that helps athletes and active individuals move better. Regularly using the Pliability app can:
- enhance flexibility
- Aid recovery
- Reduce pain
- Improve your range of motion
Pliability’s extensive library of high-quality videos features detailed instructions to help you master targeted lower-body mobility exercises and protocols to optimize your health and fitness.
Related Reading
- Gowod Vs Pliability
- Tennis Mobility Exercises
- Weighted Mobility Exercises
- Cervical Mobility Exercises
- Resistance Band Mobility Exercises
- Rib Mobility Exercises
- Glute Mobility Exercises
- Best Yoga App
- Free Apps For Stretching And Flexibility
- Mobility Apps
- Stretching Apps
- Chest Mobility Exercises
- Glute Stretches
- Gluteus Medius Stretch
- Glute Stretch
- Cervical Radiculopathy Exercises
.jpg)


