What Is the Sit and Reach Flexibility Test and What Your Score Mean
.webp)
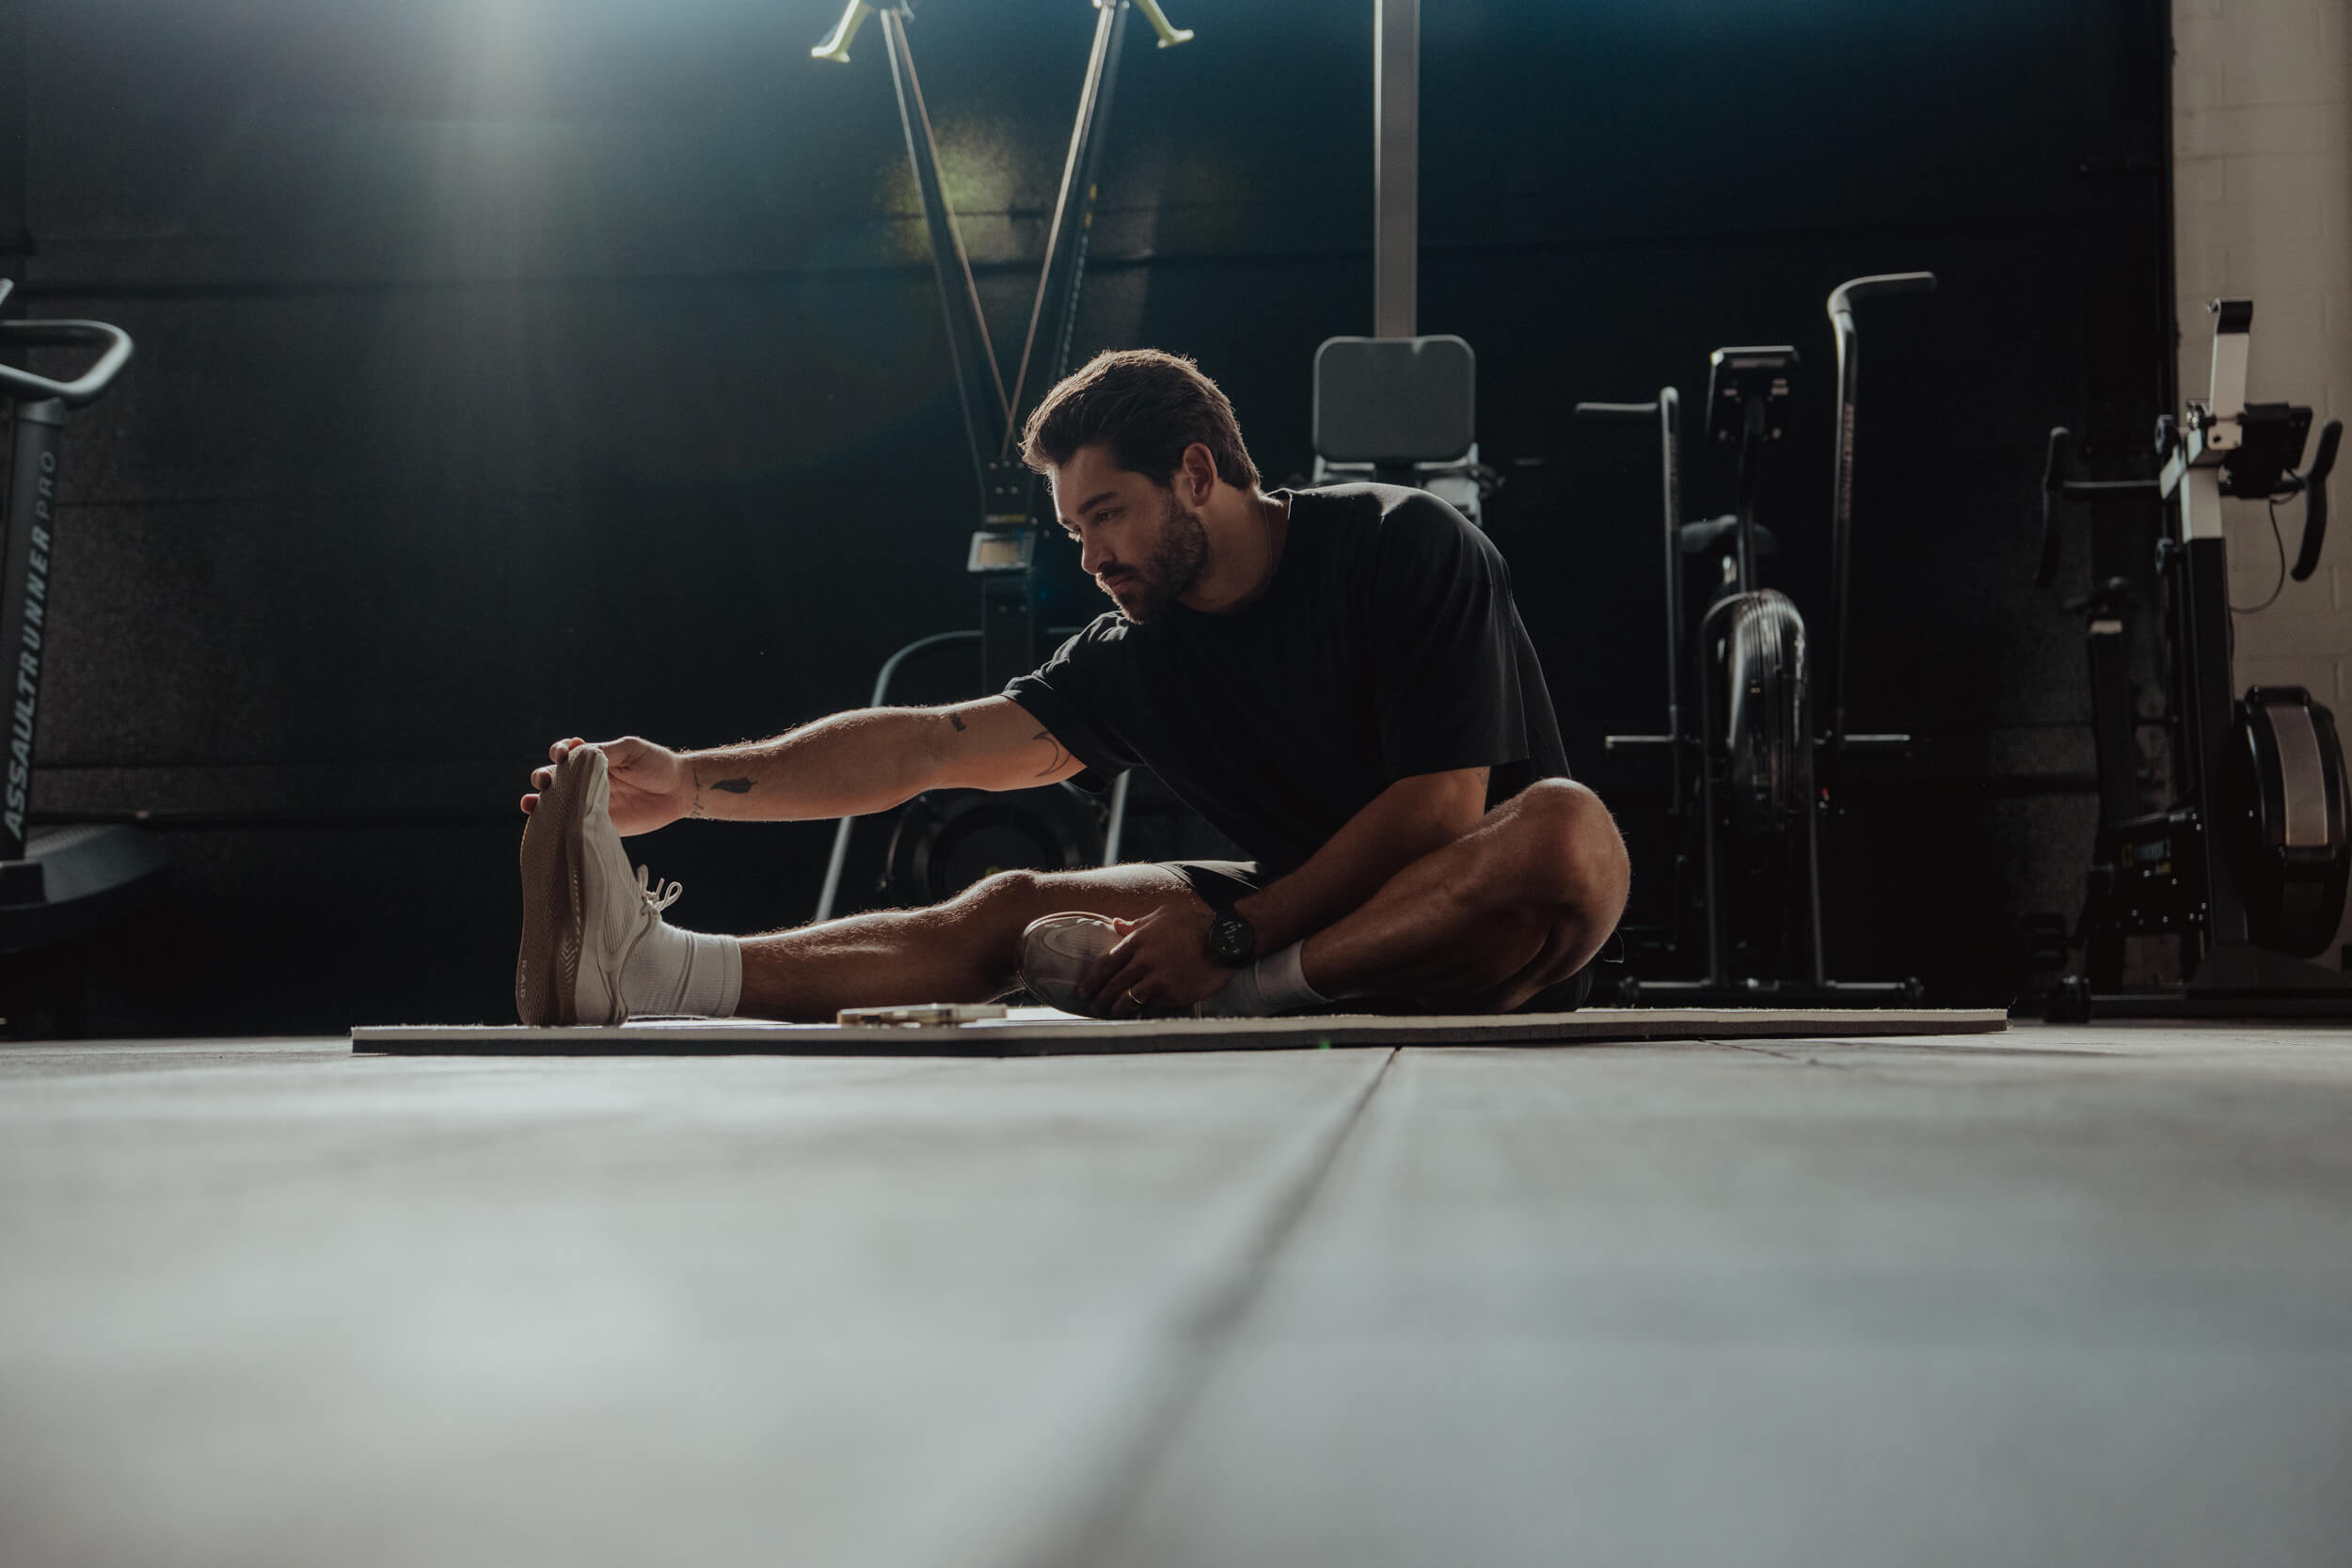
Flexibility is crucial in mobility, athletic performance, and overall health. The natural ageing process, sedentary lifestyles, and many sports can reduce flexibility, making daily activities more challenging and increasing the risk of injury. If you're wondering how to measure flexibility, the Sit and Reach Flexibility Test is a great place to start. It assesses your hamstring and lower back flexibility, helping you understand your current flexibility level. The Sit and Reach test is simple, effective, and can be done at home with minimal equipment. In this article, we’ll explore the Sit and Reach Flexibility Test to help you understand your results, improve your flexibility safely, and gain better mobility and injury resilience through effective stretching.
Pliability's mobility app makes it easy to achieve your flexibility goals with guided routines designed for all levels.
What Is the Sit and Reach Flexibility Test?

The Sit and Reach test is a linear flexibility test that helps measure the extensibility of the hamstrings and lower back. It was initially described by Wells and Dillon in 1952 and is the most used flexibility test. It has a simple procedure, is easy to administer, requires minimal skills training for its application, and the equipment necessary to perform the test is affordable.
It is also a field test that is easy to administer in a community setting with a large population.
Why Flexibility Matters
A good level of flexibility in the hamstrings and lower back is advocated as it plays a key role in health-related fitness. Areas where it is essential include:
- Injury prevention (acute or chronic musculoskeletal injuries and lower back problems)
- Risk of falling
- Gait limitations
- Postural deviations
Getting Ready for the Sit and Reach Test
There are various techniques and variations of the sit-and-reach test. The one explained below is based on the Young Men's Christian Association (YMCA) guideline from the American College of Sports Medicine (ACSM), 2014.
Pretest
- Clients/Patients should perform a short warm-up before this test with gentle stretches.
- During the test, participants are advised not to do fast, jerky movements, which may increase the possibility of an injury.
- The participant’s shoes should be removed.
- A yardstick is placed on the floor, and tape is placed across it at a right angle to the 15-inch mark.
- The client/patient sits with the yardstick between the legs, with the legs extended at right angles to the taped line on the floor.
- Heels of the feet should touch the edge of the taped line and be about 10 to 12 inches apart.
Performing the Sit and Reach Test
- The client/patient should slowly reach forward with their arms extended, placing one hand on the other with palms facing down as far as possible. They should hold this position for approximately 2 seconds.
- Ensure that the hands remain parallel throughout the movement and that the participant does not lead with one hand. Fingertips may overlap, but they should contact the measuring portion or yardstick of the sit-and-reach box.
- Record the score based on the most distant reach point (cm or inches) reached with the fingertips. The best of the three trials should be documented.
- To optimize the best attempt, the client/patient should exhale and gently drop the head between their arms during the reach.
- Testers must ensure the knees remain extended but not pressed down during the test.
- The client/patient should breathe normally throughout the procedure and avoid holding their breath at any point.
- Note the zero point where the foot contacts the box for accurate measurement. For YMCA standards, the zero point is set at the 15-inch mark.
Variations of the Sit and Reach Test
Variations include:
- The unilateral sit and reach test
- Back-saver sit and reach test
- Bilateral sit and reach test
- V sit and reach test
- Modified sit and reach test
- Toe-touch test
- Canadian trunk forward flexion test
- Chair sit-and-reach test (CSR test)
It was proposed as an alternative for assessing hamstring flexibility in elderly people, with a correlation coefficient of 0.76 and 0.81 for older men and women, respectively. The choice of the test to be employed is more often based on the examiner’s preferences, ease of use, professional discipline, or tradition rather than scientific evidence, as there is still no convincing proof or conclusively provided evidence of which test is the most appropriate to use to assess hamstring and low-back flexibility.
Related Reading
- Why Do I Keep Getting Injured
- How to Prevent Soreness After Leg Day
- Why Am I So Inflexible
- Why Are My Hips So Tight
What are the Sit and Reach Test Normative Results?

Understanding Normative Data for Sit and Reach Flexibility Test Results
The sit-and-reach flexibility test measures hamstring and lower back flexibility. The American College of Sports Medicine publishes norms for sit-and-reach tests, which vary according to age and gender. The norms below represent stand-alone tests for males and females.
The results are measured in centimeters and indicate how far the subject can reach beyond the starting point. A score of zero means the individual reached exactly the starting line. Any negative scores indicate the subject fell short of the starting line. Positive scores indicate how far the subject reached beyond the starting line.
Normative Values for Adult Males

Normative Values for Adult Females

Now that we have the athlete’s Sit and Reach Test score, we can compare their score to the Sit and Reach test normative values from the ACSM in the tables above.
The ACSM doesn’t provide any details (e.g., population, training history, limb length, etc.) about the population from which this data is collected, so caution must be taken when comparing your performer against this data.
When comparing your athlete’s score to these normative values, be aware of the type of box that you are using, as each box might be slightly different. The values above use a sit-and-reach box where the toe line (“zero point”) is at the 15cm mark, as shown below.
Adjusting and Tracking Sit and Reach Test Results for Accurate Flexibility Assessment
If you use a box in which the toe line is set at a different mark (e.g., 26cm), you will need to make adjustments from each value in the table above (e.g., if the mark is set at 26cm, add 11 to each value) to be able to compare.
We can also monitor our athlete’s hamstring and lower back flexibility over time. To do this, we can ask the athlete to perform the test again and compare the data with the athlete’s previous score. Following training or an intervention, we expect the athlete’s Sit and Reach Test score to increase, indicating their hamstring and lower back flexibility has improved.
Factors That Can Influence Sit and Reach Test Scores
It is crucial to understand that several factors can influence flexibility scores.
Age and Gender
Women tend to score better than men on flexibility tests. Flexibility tends to decrease with age.
Body Composition
Individuals with large muscle mass and density may have difficulty reaching certain scores because muscle bulk can interfere with good flexibility.
Anatomy
Individuals with longer limbs may perform differently on flexibility tests due to their anatomy rather than flexibility. For example, those with longer arms may score better on the sit and reach test without necessarily having greater flexibility. Those with shorter limbs may appear less flexible and have a lower score.
Limb Length
Limb length can significantly impact sit and reach test results in the following ways:
- Arm Length: Longer arms provide an advantage, allowing individuals to reach further along the measuring scale without having greater flexibility. Those with shorter arms may appear less flexible even if they have good hamstring and lower back flexibility.
- Leg Length: Individuals with shorter legs tend to perform better on the traditional sit-and-reach test. Longer legs can make it more challenging to reach forward, potentially resulting in lower scores despite good flexibility.
- Trunk Length Considerations: A longer torso relative to leg length can provide an advantage in reaching further. Conversely, those with shorter trunks may appear less flexible due to anatomical proportions rather than actual flexibility limitations.
Addressing the Limb Length Issue
To account for these anatomical differences, some variations and adjustments have been developed:
- The modified sit and reach test adjusts the zero point based on the individual's sitting reach, helping to control for arm and leg length differences.
- Relative sit and reach tests have been proposed, considering height, leg length, or trunk length to provide more comparable results across different body types.
Importance of Interpretation
When interpreting sit-and-reach test results, it's crucial to consider the individual's body proportions. A lower score doesn't necessarily indicate poor flexibility if the person has relatively short arms or long legs, and a high score may not always reflect superior flexibility in those with advantageous limb lengths.
Given these factors, the sit and reach test should be viewed as a comprehensive flexibility assessment component rather than a standalone measure. Modified versions or relative scoring methods may be more appropriate for more accurate comparisons between individuals with different body proportions.
Related Reading
- Why Can't I Straighten My Arm After Working Out
- Why Are My Hamstrings So Tight
- Why Does My Leg Shake When I Stretch
- Fitness Assessment
- How Flexible Are You
How Can I Improve My Sit & Reach Test Results?
.jpeg)
The sit and reach test measures lower back and hamstring flexibility. Although it seems simple, many people make common mistakes during the test that can affect their results. Here are the most common errors to watch out for:
Improper Form
Improper form can impact your flexibility test results. Here are some common form mistakes to avoid when performing the sit and reach test:
- Bouncing or Jerking Movements: The reach should be smooth and controlled, not bouncy or jerky.
- Bending Knees: The legs should remain straight with knees locked and pressed flat to the floor.
- Uneven Hand Placement: Both hands should reach forward equally, not one extending further than the other.
Inadequate Preparation
Failing to prepare properly for the sit and reach test can lead to reduced flexibility and potentially inaccurate results.
Two common errors include:
- Skipping Warm-Up: Failing to properly warm up before the test can reduce flexibility and lead to inaccurate results.
- Wearing Shoes: Shoes should be removed to ensure consistent foot placement against the box.
Execution Errors
Errors during the execution of the sit and reach test can also impact results.
Watch out for the following common mistakes:
- Holding Breath: Participants should breathe normally throughout the test, not hold their breath.
- Rushing the Movement: The reach should be held for 1-2 seconds for accurate measurement.
- Leading With The Head: The head should not drop between the arms to artificially increase reach.
Measurement Issues
Inconsistent measurement practices can affect the comparability of results.
Be sure to avoid the following mistakes:
- Inconsistent Starting Position: Failure to standardize the starting position (e.g., feet placement, zero mark on the box) can affect the comparability of results.
- Not Repeating the Test: Best practice is to perform multiple trials and record the best score.
Other Considerations
Remember that factors outside the sit and reach test can impact results.
These include:
- Recent Physical Activity: Performing the test immediately after strenuous exercise may impact flexibility.
- Inconsistent Testing Conditions: Variations in environment, time of day, or recent meals can affect results.
By avoiding these common mistakes, the sit and reach test can provide more accurate and reliable measurements of lower back and hamstring flexibility.
How Can I Improve My Sit & Reach Test?
To improve your sit and reach test score, focus on increasing flexibility in your lower back and hamstrings. Here are some effective strategies:
Stretching Exercises
Perform regular stretching routines targeting the key muscle groups:
- Hamstring Stretches:
- Lower Back Stretches:
- Hip Flexor Stretches:
- Lunges
- Pigeon pose
Hold each stretch for 15-30 seconds and repeat 2-3 times daily. Consistency is key for improving flexibility over time.
Foam Rolling
Use a foam roller to release tension in your:
- Hamstrings
- Calves
- Lower back
This can help improve flexibility and prepare your muscles for stretching.
Warm-Up Properly
Always warm up before stretching or testing. A 5-10 minute light cardio activity like jogging or cycling will increase blood flow and prepare your muscles for stretching.
Stay Hydrated
Proper hydration is important for muscle elasticity. Drink plenty of water throughout the day, especially before and after stretching sessions.
Practice the Sit and Reach Test Movement
Regularly practice the sit-and-reach movement to improve your technique and range of motion. Focus on reaching forward smoothly without bouncing or jerking.
Yoga and Pilates
Incorporate yoga or Pilates into your routine. These practices emphasize flexibility and can significantly improve your overall range of motion, especially in the lower back and hamstrings.
Be Consistent
Flexibility improves gradually over time. Aim to stretch daily or at least 3-4 times per week for best results. It may take several weeks to see significant improvements in your sit and reach score.
Improving your sit and reach score is a good goal, but focusing on overall flexibility is essential, not just this single measure. A well-rounded flexibility program will benefit your overall fitness and help prevent injuries.
Related Reading
- How to Test Hip Mobility
- Ankle Mobility Test
- Shoulder Flexibility Test
- Mobility Test for Adults
- Why Should You Measure Your Level of Flexibility?
- Why Are Dynamic Flexibility Tests Not Used as Often as Static Flexibility Tests?
Improve Your Flexibility with Our Mobility App Today | Get 7 Days for Free on Any Platform

Pliability: The Next Generation of Flexibility Training
Pliability offers a fresh take on yoga, tailored for performance-oriented individuals and athletes. Our app features a vast library of high-quality videos designed to:
- Improve flexibility
- Aid recovery
- Reduce pain
- Enhance range of motion
Pliability provides daily-updated custom mobility programs for those interested in optimizing their health and fitness. It also includes a unique body-scanning feature to pinpoint mobility issues. If you're feeling limited by pain or ability to move, Pliability aims to complement your fitness routine and help you move better.
Sign up today for 7 days absolutely for free, on iPhone, iPad, Android, or on our website to improve flexibility, aid recovery, reduce pain, and enhance range of motion with our mobility app
.jpg)


