Everyday activities can feel painful or difficult if you lack flexibility. Reaching for something on a high shelf can seem daunting. Getting into or out of a car can feel like a chore. Even simple tasks, like bending over to tie your shoe, can cause worry and discomfort if you lack flexibility. Fortunately, yoga poses for flexibility can help you build mobility and develop body awareness, so you feel looser, more in control, and more comfortable going about your daily life. This article will help you get started. You’ll discover effective yoga poses for flexibility that can relieve your aches and pains and improve your quality of life. The best part? They’re simple, easy to do, and can be done at your own pace.
As you’ll see, the mobility app from Pliability offers a great way to help you achieve your flexibility goals using yoga poses. With this app, you’ll find an organized library of routines and videos to help you relieve soreness, improve your range of motion, and get back to doing the things you love.
How Does Yoga Help Improve Flexibility?
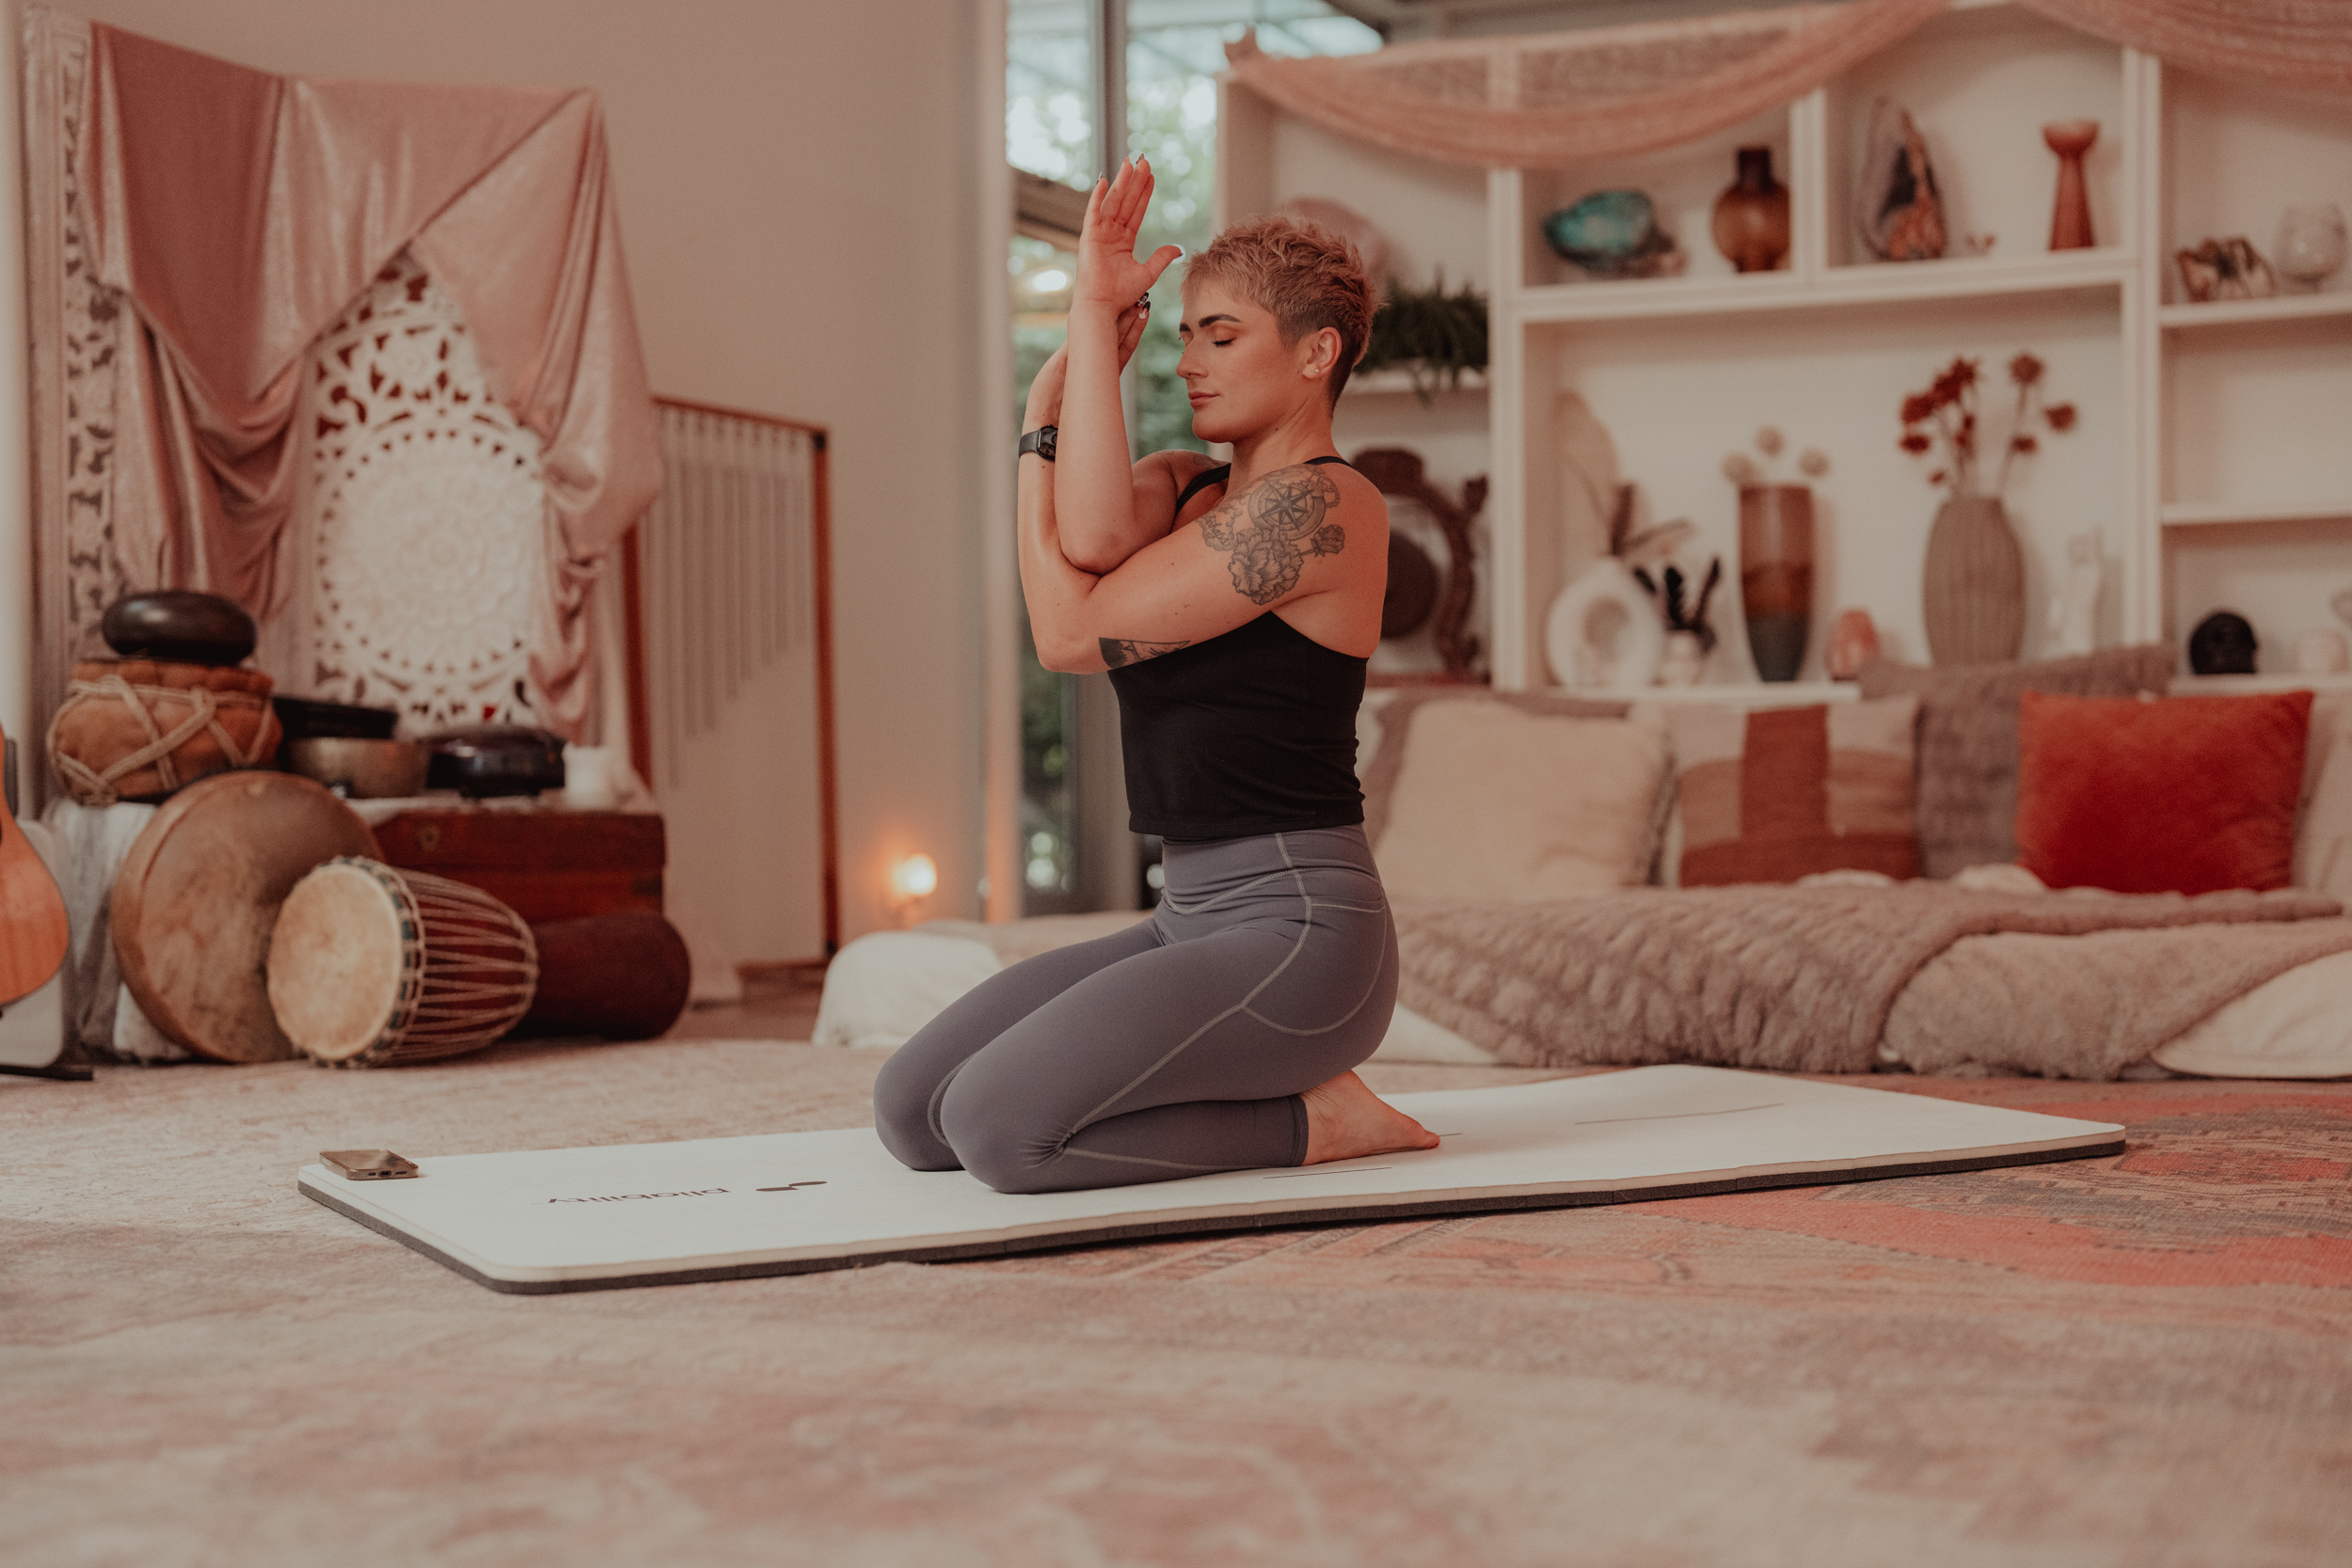
Flexibility is a key component of physical fitness. Cardio and strength training are on most people's radar, but flexibility often isn't until pain or injury arises. When they do, the treatment frequently involves stretching tight muscles that limit the range of motion and putting stress on vulnerable areas like the joints.
Releasing Mental Tension Through Flexibility
The mental benefits of increasing flexibility are often overlooked. Flexibility is improved through stretching, and stretching feels good. When you stretch, you relieve stress by releasing tension. Where the body goes, the mind follows. When you let go of physical tension, you also let go of mental tension. That's one of the reasons yoga is so good at reducing stress, alleviating insomnia, and increasing a sense of well-being.
How Does Yoga Help Improve Flexibility?
Yoga is different from just stretching by its emphasis on safe form and the duration and variety of stretches that address both major muscle groups and deep-seated, stealth muscles you might not even know you have (like the psoas and piriformis). The yoga difference can be described with three A's:
- Alignment
- Attention
- Awareness
Alignment
Alignment is the precise way that each pose is done to maximize its benefits and minimize the risk of injury. This may include using props to support tight areas as they begin to open up.
Practicing with the insight of alignment helps ensure that you aren't compromising one area of the body in an attempt to focus on another area. An experienced teacher helps bring alignment to the fore, as does use a yoga mat with alignment guides.
Attention
Attention means you are not zoning out or just going through the motions, but instead feeling each pose to the fullest. This helps cultivate the body awareness necessary to distinguish between the discomfort that may arise in using your body in a new way and the pain that is the body's signal to back off. No one else is in your body, so only you can make that call.
Awareness
Awareness means that you remain entirely focused on the present moment throughout your practice. Often, the physicality of yoga asana practice is enough to keep us anchored in the now.
We also learn to use the breath to return to the body in the present again and again. Awareness is one of yoga's most excellent tools because it takes us out of our monkey mind and allows us to reset, reducing stress and anxiety.
Unlock Your Body's Potential with Pliability
Pliability offers a fresh take on yoga, tailored for performance-oriented individuals and athletes. Our app features a vast library of high-quality videos designed to improve flexibility, aid recovery, reduce pain, and enhance range of motion.
Pliability provides daily-updated custom mobility programs for those interested in optimizing their health and fitness. It also includes a unique body-scanning feature to pinpoint mobility issues. If you're feeling limited by pain or ability to move, Pliability aims to complement your existing fitness routine and help you move better.
Sign up today to get 7 days absolutely for free, on iPhone, iPad, Android, or on our website to improve flexibility, aid recovery, reduce pain, and enhance range of motion with our mobility app.
Related Reading
- What is Functional Movement
- Functional Strength Training
- Does Yoga Help With Mobility
- How Long Does It Take to Improve Flexibility
- Why is Range of Motion Important
- How to Fix Tight Hamstrings
31 Best Yoga Poses for Flexibility
1. Intense Side Stretch (Parsvottanasana)
This forward bend stretches your spine, legs, and hips and can work wonders for your balance, posture, and digestion.
Try it out:
- While standing, place your left foot in front of you, facing forward.
- Place right foot back, with toes turned out at a slight angle.
- Square your hips to face forward.
- Put hands on hips.
- Bend at hips, working to keep spine and neck long as you fold forward.
- Drop hands to the floor (or use a yoga block!).
- Hold the pose for 30 seconds to 1 minute, and then come back up to standing.
- Swap the positions of your feet (right foot forward now!) and repeat.
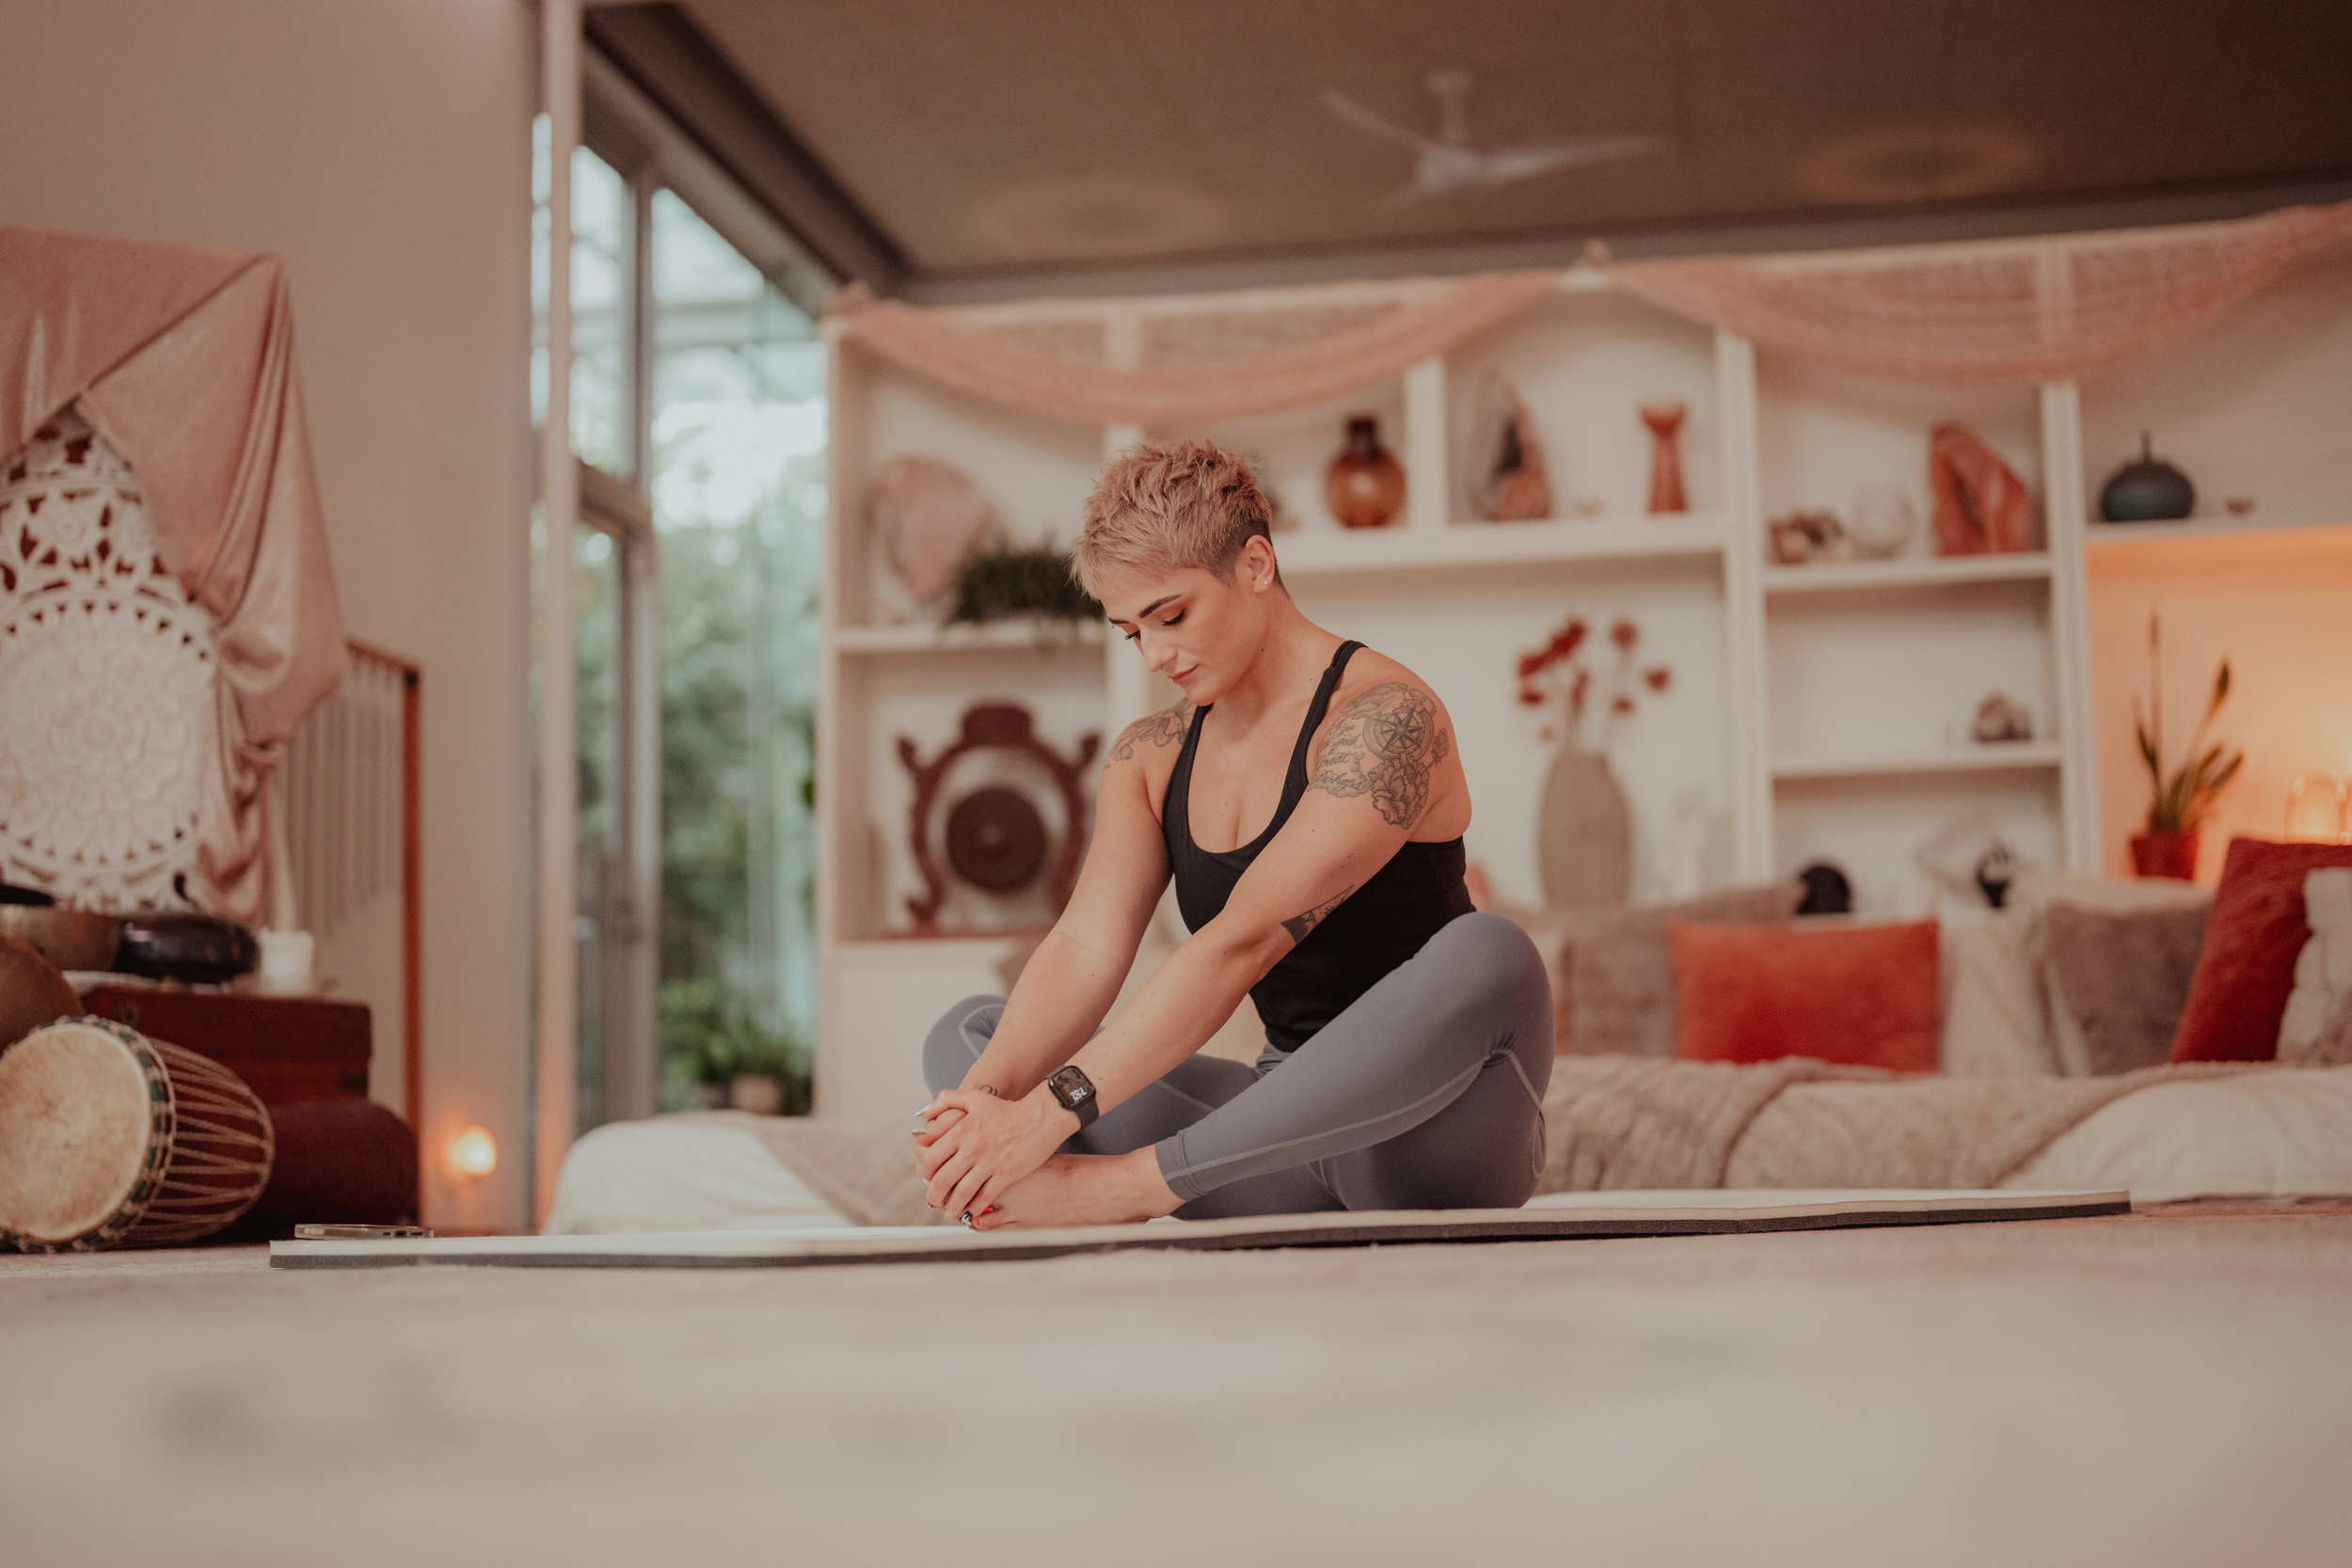
2. Head to Knee (Janu Sirsasana)
This pose is great for increasing flexibility in your hips, thighs, and back while also increasing blood flow in your lower abs and relieving stress.
Try it out:
- Sit on a yoga mat (the floor works too!) and extend your right leg forward.
- Bend your left knee out to the side, pressing left foot into right inner thigh.
- Breathe in and sit up tall as you raise your arms overhead.
- Breathe out and bend at hips as you fold forward toward right leg.
- Hold on to your outstretched foot or leg or place your hands on the floor.
- Remain in this pose for 1–2 minutes.
- Switch your legs to stretch the other side.
3. Cat-Cow (Bitilasana Marjaryasana)
Cat-Cow may seem like a funny name for a yoga pose, but its benefits are anything but. This purr-fect pose helps improve your mobility and boost flexibility in your neck, shoulders, spine, and core.
Try it out:
- Start on all fours, with wrists directly beneath shoulders and knees directly below hips.
- With your weight balanced evenly across your body, breathe in and let your belly drop toward the floor.
- Let tailbone, chest, and chin rise as belly moves downward.
- Breathe out and press into your hands as you round your spine upward.
- Tuck chin into chest as spine rises.
- Continue for 1 minute.
4. Bow Pose (Dhanurasana)
We spend a lot of time sitting (in front of our computers, during our daily commutes, or while watching our current fave TV show), and this pose is excellent for stretching the muscles we use when seated. It helps increase the flexibility of the muscles in your:
- Core
- Glutes
- Back
- Chest
- Legs
This is an intermediate pose, and you should skip it if you have any neck, shoulder, or back pain.
Try it out:
- Lie facedown and place your arms alongside your body.
- Bend knees so your feet float up. Hold the outsides of your ankles with your hands.
- Try to lift chest and shoulders off the floor, keeping head facing forward. (It’s A-OK if you can’t do this part, do only what’s comfortable for your body!)
- Take long, deep breaths and hold for up to 30 seconds.
- Release and repeat 1 or 2 times.
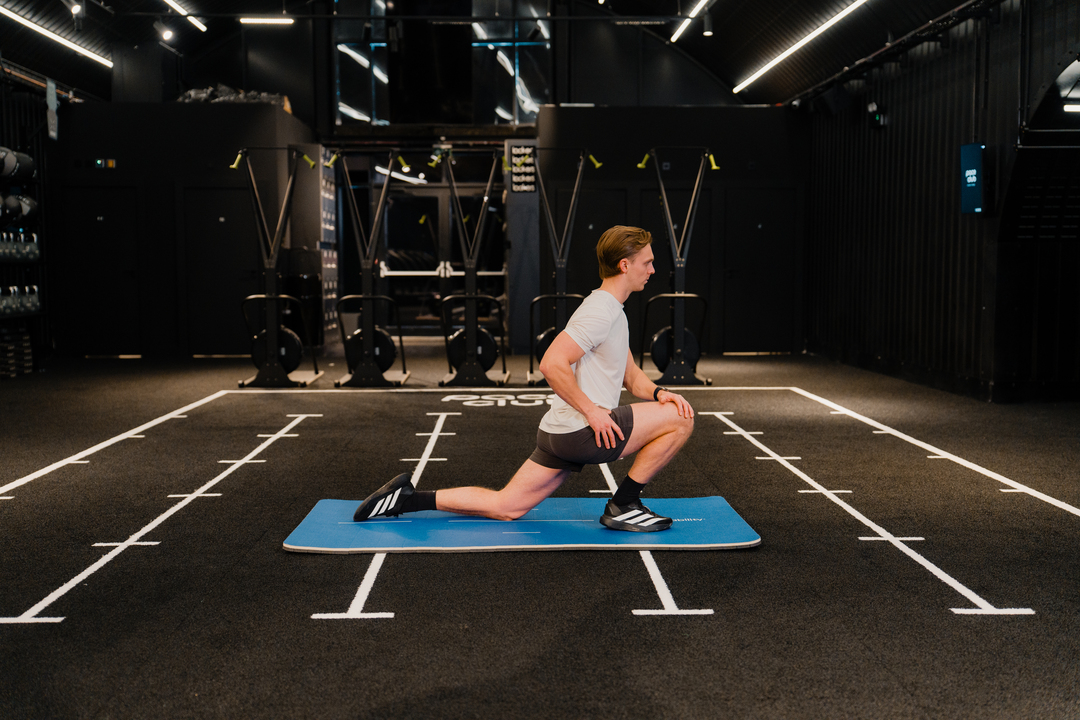
5. Low Lunge (Anjaneyasana)
Looking for a pose that can help open your hips, build muscle strength, and lengthen your spine? Look no further than the low lunge! This floor pose is perfect for any level and may even help relieve sciatica pain.
Suitable for all levels, this pose helps lengthen your spine, open your hips, and build muscle strength. It may also help alleviate sciatica.
You can modify this pose by:
- Using a chair or other piece of sturdy furniture in front of you for support
- Lunging less deeply
Try it out:
- Kneel on left knee while bending right knee and placing right foot flat in front of you.
- Lengthen up through your spine to the crown of your head.
- Raise arms and torso (or you can extend your arms to the sides, bringing them parallel to the floor).
- Slowly and gently push into your right hip.
- Hold for at least 30 seconds. As you hold, make sure right knee doesn’t push forward past ankle.
- Switch your legs and repeat on the other side.
Alignment tip: Keep your front knee from moving past your ankle. Draw your back hip forward to maintain square hips.
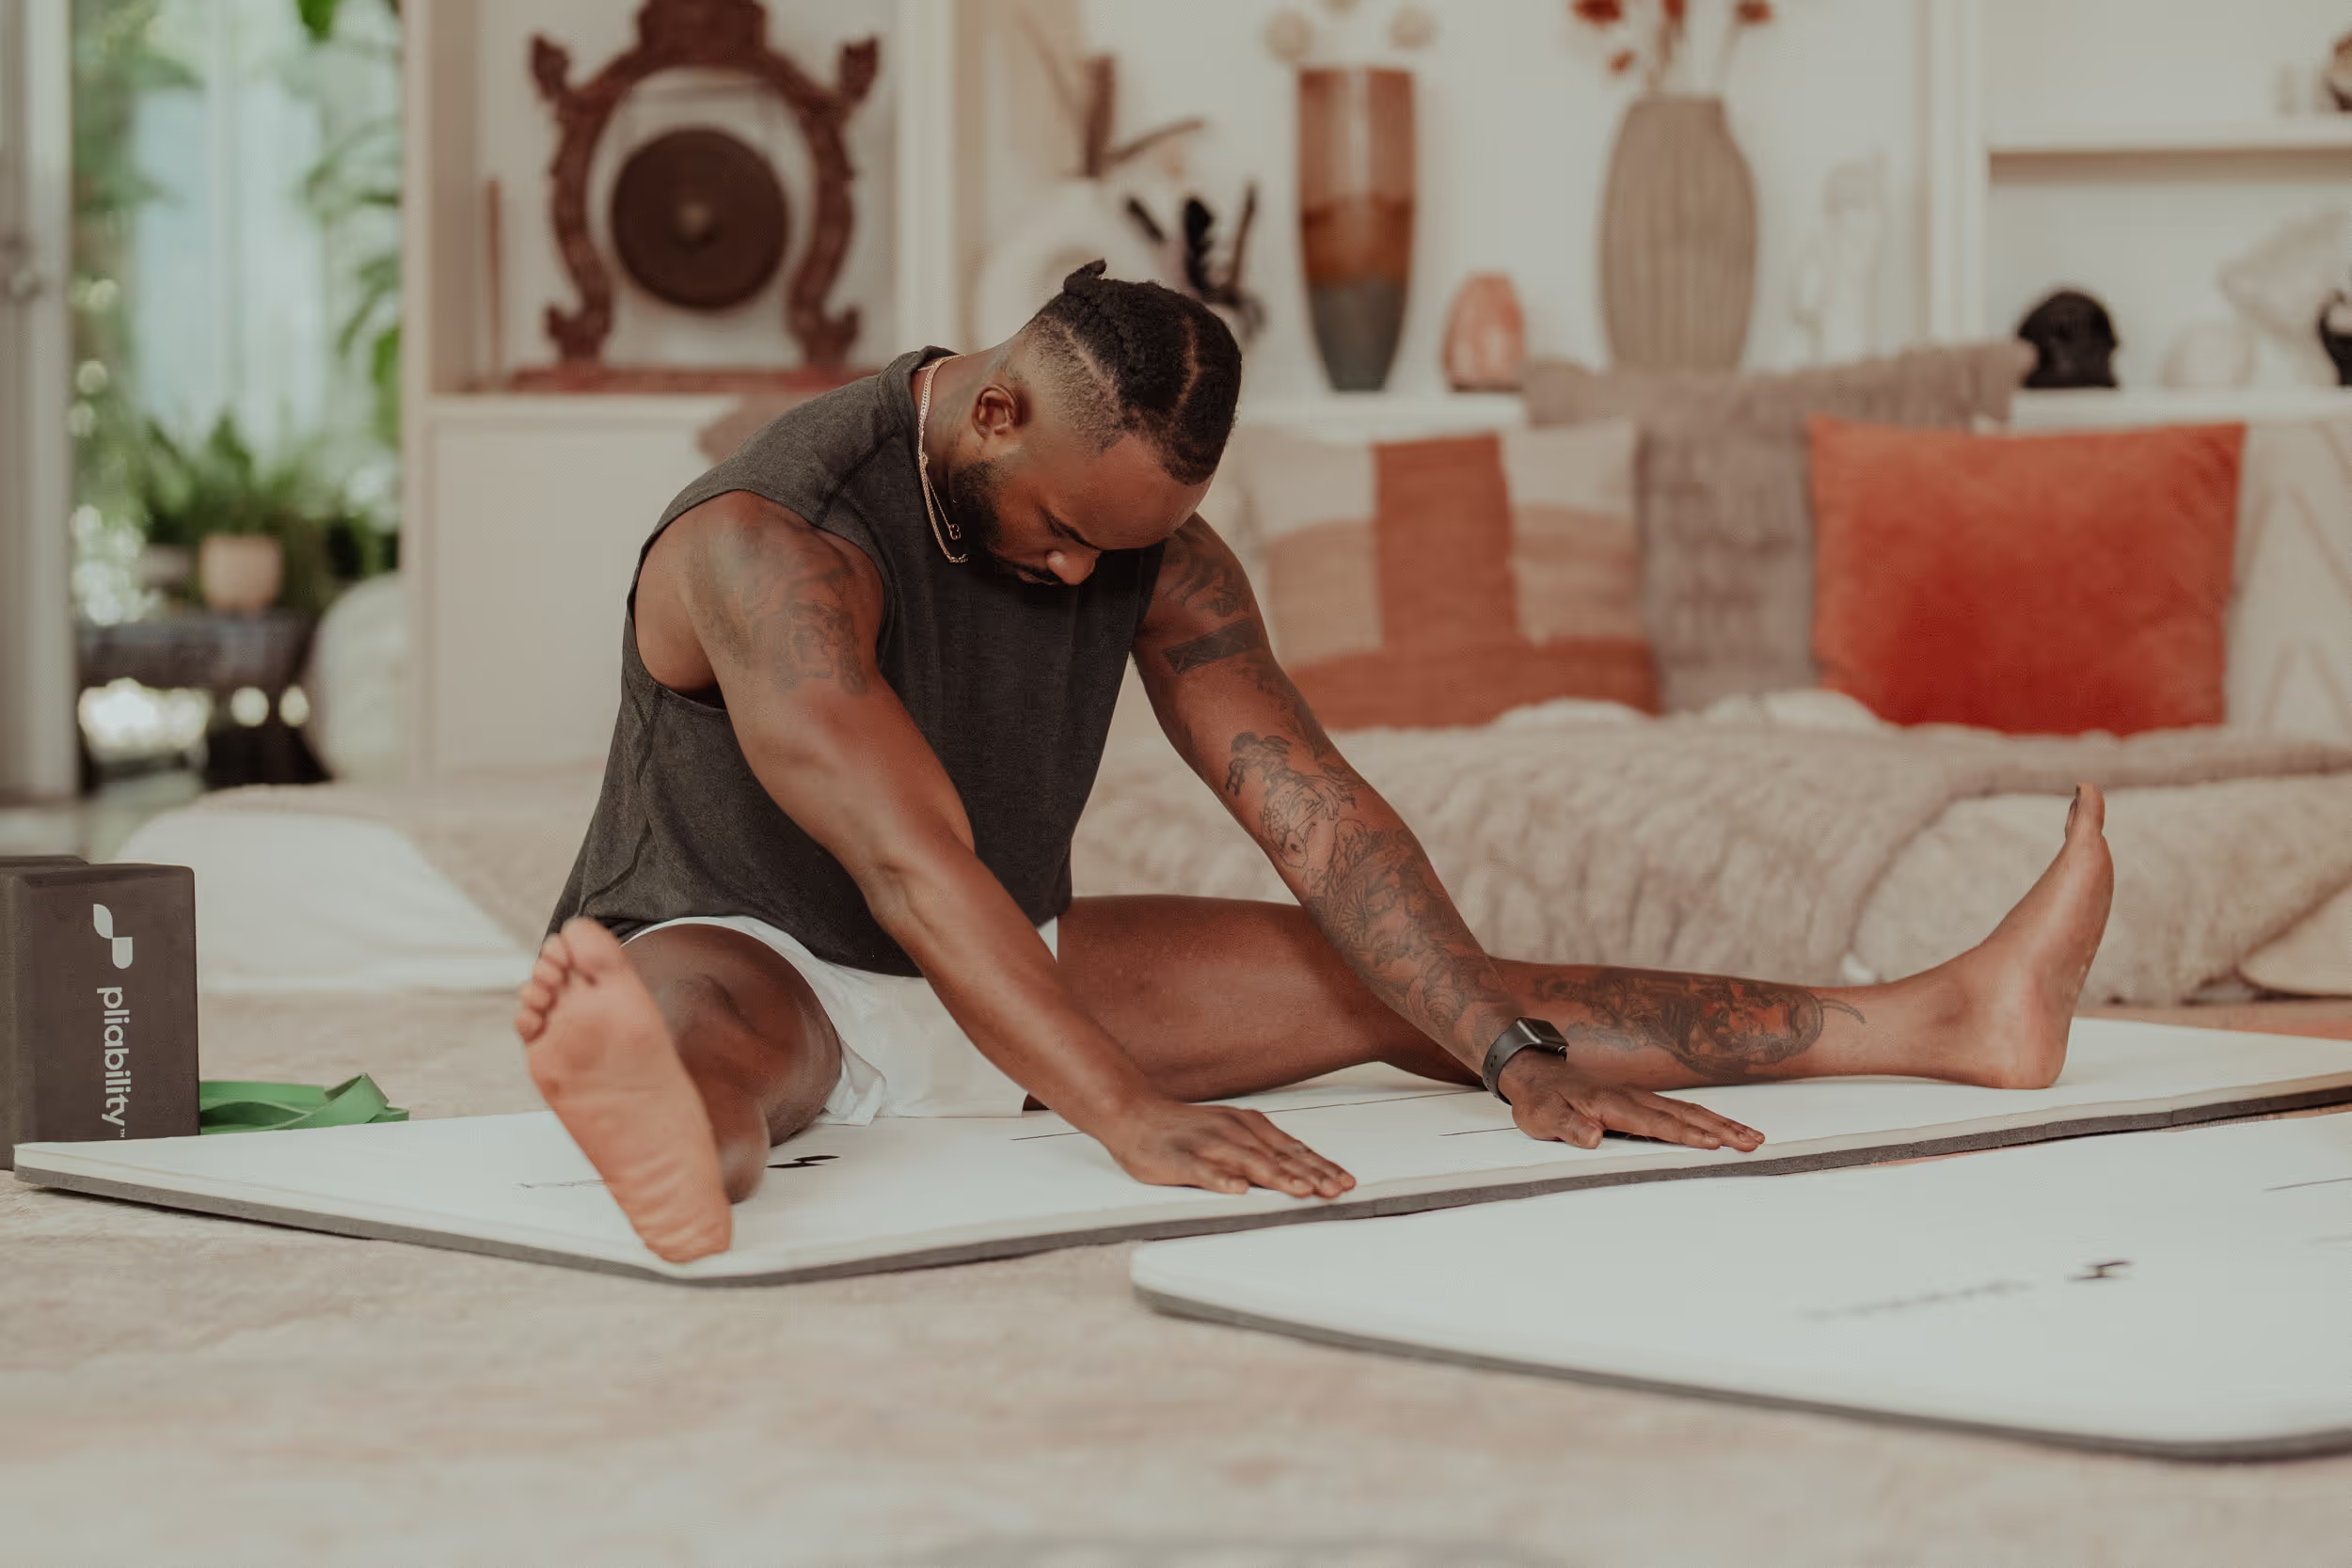
6. Wide-Angle Seated Forward Bend (Upavistha Konasana)
Open up your hips and lower back with this feel-good forward fold. It’s also great for increasing the flexibility of your calves and hamstrings. To go deeper into the pose, you can sit on the edge of a cushion or block to tilt your pelvis forward.
Try it out:
- While seated, open your legs as wide as you comfortably can. Make sure your toes are pointed toward the sky. If they’re pointing out, move your legs a bit closer together.
- Extend arms overhead.
- Fold forward from your hips and walk your hands toward your feet.
- Hold for 1–2 minutes.
Alignment tip: If your toes point out to the sides, move your legs in closer. Your toes should face straight up, as though you’re pressing the soles of your feet into a wall.
7. Eye of the Needle Pose (Sucirandhrasana)
Eye of the Needle is “sew” (OK, bad dad joke…) great for opening up your hips, improving your posture, and stretching out your hamstrings and lower back.
Try it out:
- Lie faceup with knees bent and feet flat on the floor.
- Bring left knee to chest, then cross left ankle over your body to rest on right thigh.
- Lift the right foot off the floor.
- “Thread” left hand through your legs, like threading a needle. Bring the right hand behind the right thigh to meet the left hand.
- While keeping feet flexed, breathe out and bring the right thigh toward the chest.
- Hold for 30 seconds.
- Release and repeat on the other side.
8. Cow Face Pose (Gomukhasana)
Stretch out your arms, chest, and shoulders with this all-levels move.
Try it out:
- Sit in a comfy position, then lengthen your spine and open your chest.
- Reach left arm overhead, then bend arm to point fingers down along your spine.
- Place your right hand on your left elbow and gently draw it to the right while letting your left hand move lower down your spine.
- If you’re looking to increase the intensity, try bending your right arm upward along your spine to grab your left hand. (This is a bit of an advanced step, so try it only if you’re comfortable!)
- Hold for at least 30 seconds.
- Switch arms and repeat on the other side.
9. Plow Pose (Halasana)
While it may look a little daunting, Plow Pose is primo for releasing tension in your shoulders, spine, and neck. This is an intermediate pose, and you should skip it if you have any concerns about your neck, blood pressure, or digestion.
Try it out:
- Lie face up and place your arms alongside your body. Press palms into the floor.
- Raise your legs straight up, so your body forms a 90-degree angle, and bring your legs over your head.
- Place your hands on your lower back, with fingers facing upward and pinkies on either side of your spine.
- Hold for 1–2 minutes.
- Roll your spine back down to the floor to release.
10. Downward Facing Dog (Adho Mukha Svanasana)
You didn’t think we’d leave out Downward Dog, did you? This pose is good for everything, particularly stretching the hamstrings and calves along the backs of the legs.
Instructions:
- Come to your hands and knees with the knees slightly behind your hips.
- Curl your toes under and lift your knees from the floor.
- Lift your seat to the ceiling by straightening your legs.
- Pedal your feet one at a time.
- Settle into relative stillness for at least five breaths while pushing firmly into the palms of your hands and maintaining the inverted V shape of the posture.
11. Half Lord of the Fishes Pose (Ardha Matsyendrasana)
This intermediate-to-advanced pose will give your back, thighs, and glutes a great stretch and can also aid in digestion, improve posture, and strengthen your core.
Try it out:
- Sit on the floor with legs extended in front of you.
- Bend knees and place feet flat on the floor.
- Drop left knee to the floor and tuck left foot under right leg.
- Place right hand on the floor behind your hips.
- Breathe in while raising your left arm overhead.
- Breathe out and twist to the right, hooking the left hand or elbow for a deeper stretch to the outside of the right thigh.
- Press hips down as you reach the crown of your head up to lengthen your spine.
- Hold for five breaths.
- Release and repeat on the other side.
12. Cobra
Suitable for:
- Lower back
- Hip flexors
- Shoulders
- Chest
How to:
- Start lying on your stomach with legs extended straight behind your body, arms bent and palms flat on the floor by your ribs, shoulders and head lifted a few inches above the mat, gaze just in front of your nose so your spine stays neutral.
- Push through palms to raise upper body higher, but stop if lower back hurts.
Breathing: Inhale to lift your heart away from the mat, then continue breathing in and out while in the stretch, exhaling to come back down.
Modification: If you have stiffness in the lower back and lifting with your palms on the floor is too much, keep your forearms on the floor and only lift halfway instead, Jain says.
13. Chair Pose
Good for:
- Glutes
- Calves
- Shoulders
How to:
- Start standing with feet together and arms at sides.
- Lower into a squat, by pushing butt back and down, and raise arms overhead, bringing biceps by ears.
Breathing: Inhale as you sit and raise your arms, and then breathe in and out as you hold.
Modification: If you experience knee pain or difficulty balancing, you can practice this pose against a wall. “Stand about a foot’s length from the wall, and as you sit into the pose, rest your backside against the wall,” Jain says.
14. Upward-Facing Dog
Good for:
- Chest
- Thighs
- Shoulders
- Spine
- Ankles
How to:
- Start lying on your stomach with legs extended straight behind your body, arms bent and palms flat on the floor by your ribs, shoulders and head lifted a few inches off the mat, gaze right in front of your nose so your spine stays neutral.
- Push through palms to extend arms straight, lifting torso to look straight forward, pushing shoulders down away from ears, and picking thighs and shins up off the mat.
Breathing: Inhale to get into this position, and then breathe in and out regularly while holding it.
Modification: If you have strain in your lower back or arm and you’re having trouble lifting your whole body from the floor, try lifting your body halfway, Jain suggests. Or place a rolled-up towel, blanket, or yoga mat underneath your thighs for support.
15. Low Lunge Twist
Good for:
- Hip
- Hamstrings
- Thighs
- Core
- Spine
How to:
- From a high plank or tabletop, step one foot forward to the outside of your hand.
- Lift your back glute in line with your front hip, pressing through your back heel.
- Lengthen the arm on the same side of the foot to the sky, twisting your chest open.
Breathing: Exhale to lunge and inhale to reach your arm to the sky. As you hold the stretch, breathe fluidly in and out.
Modifications: You can rest your back knee on the floor to make the stretch less active for your lower body and focus just on the twist.
16. Extended Side Angle
Good for:
- Hips
- Groin
- Spine
- Shoulders
- Legs
How to:
- Start in a warrior II position with right leg forward, knee bent at 90 degrees and heel bisecting inner arch of left foot.
- Tilt torso forward over right thigh and down so that fingertips of right hand can rest on the floor inside of right foot, and extend left arm forward, bringing bicep by ear.
- Repeat on opposite side.
Breathing: Exhale to get into this position, and then breathe fluidly in and out as you hold it.
Modification: If you are unable to rest your hand on the floor or have difficulty balancing, you can rest your front forearm on the top of your front bended leg, or place your hand on a block next to your front foot, Jain says. You can also use the seat of a chair to support your front bent leg for help balancing in this pose.
17. Triangle
Good for:
- Hamstrings
- Hips
- Core
How to:
- Start with the right leg forward, the left leg back, feet wider than shoulders (right toes facing the top of the mat, outside of the left foot parallel to the bottom of the mat), the upper body facing the left side, and arms extended straight at shoulder height.
- Lean torso forward and lower it down until the right hand can rest on the floor, a block, or an ankle, stretching the left hand toward the ceiling and looking up at it.
Breathing: Inhale to come forward, exhale to get into this position, and then breathe in and out as you hold it.
Modification: If you experience knee pain or tightness in your hips, Jain suggests you try sitting on a folded blanket or a block, and position your feet a little further away from your body.
18. Standing Quad Stretch
Good for:
- Thighs
- Hips
How to:
- Standing on one leg, reach back and capture the other foot.
- Bring your knees closer together toward the midline. You don’t want your knee jutting out to the side.
- Drop your tailbone down and lift the hip points up to feel a bigger stretch.
Breathing: Breathe in and out during this stretch.
Modification: If shaky balance is getting in the way of doing this stretch, you can do it against a wall or holding onto something stable.
19. Forward Fold
Good for:
- Hamstrings
- Calves
- Spine
How to:
- Hinging at your hips, bend your upper body forward, bringing your stomach to your thighs and palms to the ground.
- Press into your heels and keep your knees slightly bent.
Breathing: Exhale to fold, then breathe fluidly in and out while holding this stretch, and inhale to rise.
Modifications: If you can’t quite reach the ground, you can use blocks, stairs, or even your couch to place your palms on something.
20. Frog Squat
Good for:
- inner thighs
- Groin
- Hips
How to:
- With feet mat-distance apart, heels in, and toes fanning out, sit as low as you can, keeping knees in line with toes.
- Press down firmly through the outer edges of your feet to get an opening of hips and thigh bones while your elbows come closer to thighs as your thighs roll back behind you.
Breathing: Breathe normally in and out while holding the stretch. If doing this stretch dynamically, exhale to rise and inhale to sit.
Modification: If you are feeling pain while doing this stretch, try not coming as far down, or sit on a yoga block. (If you don’t have a yoga block handy, books, a pillow, or a couch cushion all work too.)
21. Challenge Pose: Puppy
Good for:
- Shoulders
- Spine
- Chest
- Core
How to:
- Start seated with butt on heels.
- Walk hands forward to all fours position.
- Lower forearms on to the floor, dropping chest down, bringing forehead to rest on mat, and keeping hips high the whole time.
Breathing: Exhale to release your heart towards the mat, and then breathe fluidly as you hold it.
Modification: If you have tightness in your shoulders or back and you can’t sink into this pose, try using stacked blankets under your forearms for extra support, Jain suggests.
22. Sphinx
Good for:
- Core
- Chest
- spine
How to:
- Lie down on your belly, with your forearms out in front and your shoulders directly over your elbows to create 90-degree angles.
- Gently press the tops of feet into the earth and allow glutes to contract.
- Press forearms and palms down to find a pull back towards your hips and encourage heart forward, broadening your collarbones and bringing your shoulders closer together.
- You can get a bonus back of the neck stretch by dropping your chin towards your chest and rocking your chin between each collarbone.
Breathing: Breathe in to rise into this position and open your chest, then breathe normally in and out while holding it.
Modifications: Widen the distance of your feet if you’re feeling discomfort in your lower back.
23. Butterfly
Good for:
- inner thighs
- Groin
- Hips
How to:
- Start seated with legs together and bent, feet flat on the floor, hands hugging knees, and spine long.
- Open your legs like a book and bring the soles of your feet together, grasping your toes.
- Actively push knees down toward the mat.
Breathing: Make sure you are breathing in and out for the duration of this stretch.
Modification: If you have tight hamstrings and hips, try placing your hand on a block positioned next to your front foot for support and to avoid straining. You can also move the heels further away from your body to lessen the intensity of the stretch.
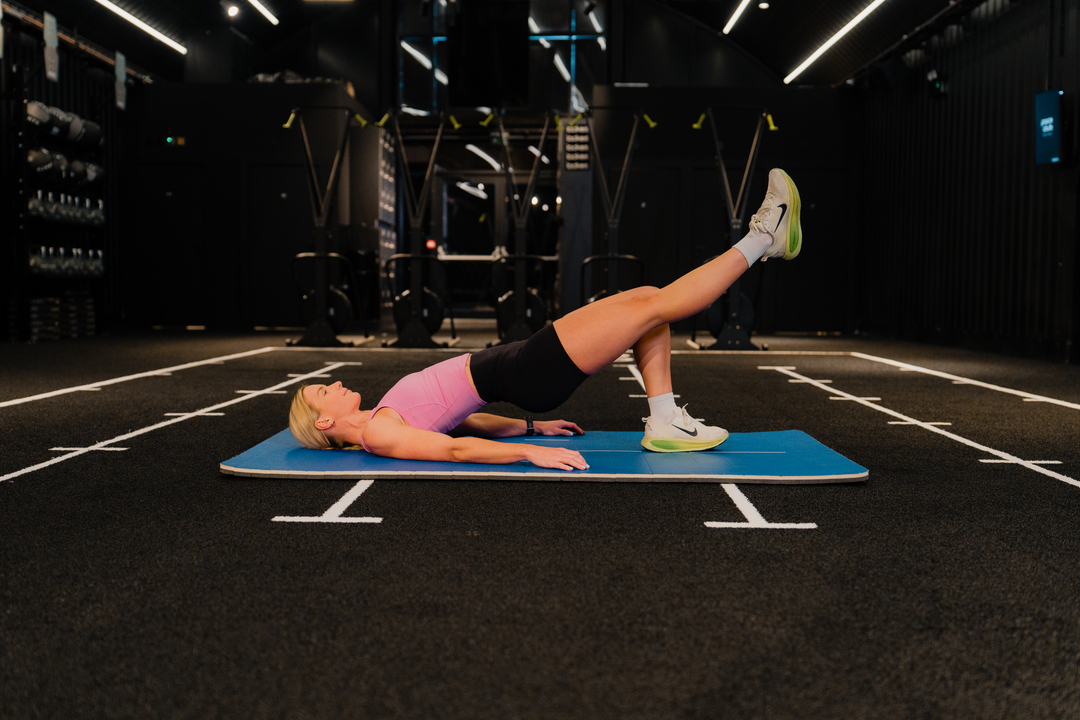
24. Bridge
Good for:
- Hip flexors
- Glutes
- Hamstrings
How to:
- Start lying on your back with your arms at your sides and your legs bent, feet flat on the floor.
- Squeeze glutes and lift hips into the air.
- Pull shoulder blades together and bring hands to clasp under the body on the mat.
Breathing: Inhale as you lift your hips off the floor to form the bridge, and then continue to breathe in and out as you hold this position.
Modification: If you feel tension in your neck or spine, Jain suggests you use a folded blanket underneath your shoulders or place a block under your lower back for more support.
25. Challenge Pose: Wheel
Good for:
- Shoulders
- Chest
- Spine
- Legs
How to:
- Start lying on your back with legs bent, feet flat on the floor, arms bent and overhead so that palms are flat on the mat by your ears, fingers pointing toward your shoulders.
- Squeeze glutes and push down through hands and heels, lifting body off the floor until all four limbs are straight.
Breathing: Inhale to come up, then continue breathing regularly as you hold this position, and exhale as you come down.
Modification: Keep knees bent and over ankles instead of fully extending legs if doing so creates pain in the lower back.
Pro tip: If you have strain in your lower back or difficulty lifting in the pose, Jain recommends only lifting halfway and keeping your knees bent. You can also place stacked bolsters lengthwise on your mat for more support.
26. Supine Figure 4
Good for:
- Hips
- Glutes
- Lower back
How to:
- Start by lying on your back, and cross your right ankle over your left thigh.
- Keep your right foot flexed and reach your hands behind your left thigh and pull.
- Repeat on the other side.
Breathing: Breathe fluidly as you do this stretch.
Modify: You can lessen the intensity of this stretch by not pulling your thigh as close to you.
27. Reclined Hand to Big Toe Pose (Supta Padangusthasana)
There are numerous ways to adapt this pose, most notably by using a strap around the instep of the lifted leg. If you don’t have a yoga strap, any belt will do, or just hold the back of your leg. Keeping your leg as straight as possible is the best way to stretch your groin, hips, hamstrings, and calves. Don’t worry about how high you can lift your leg.
Instructions:
- Begin by lying on your back with your knees bent and the soles of both feet flat on the floor.
- Hug your right knee in towards your chest. Either take a yogi toe grip around the big toe or fit a strap around your instep.
- Extend your right leg straight up toward the ceiling.
- If you can, extend your left leg along the floor. It’s also ok to keep it bent.
- Activate both feet (point or flex).
- A hand on your left thigh can remind you to keep that hip flat down on the mat.
- Make sure to keep both the right femur (thigh bone) and the right humerus (upper arm bone) settled in their sockets.
- After five to ten breaths, repeat with the left leg.
28. Crescent Lunge (Anjaneyasana)
Consider Anjaneyasana a choose-your-own-adventure type of pose. You can lunge deeply into the front hip or keep it more over the knee.
Reaching the arms toward the ceiling also stretches the muscles between the ribs (intercostals). Try reaching around for your back foot to add a quad stretch if you like. Pick a variation that works for you.
Instructions:
- From Downward Facing Dog, step your right foot forward to the inside of your right hand. Give your foot some help if it doesn’t make it to the front.
- Lower your left knee to the mat. If you have sensitive knees, a Yoga Pad can make this more comfortable.
- Inhale to lift your arms overhead. Reach for the ceiling while simultaneously moving your shoulders down away from your ears.
- For a deeper hip stretch, take your right knee forward a little or a lot.
- If you want a quad stretch, lift your left heel toward your left glute. Reach your right arm behind your back to catch hold of your left foot or ankle. Draw your foot toward your butt.
- Stay three to five breaths in your final version of the pose before switching sides.
29. Pyramid Pose (Parsvottanasana)
Pyramid gets deep into your hamstrings and hips. Use props as necessary and remember that both hip points face the front of the mat in this posture.
Instructions:
- From Downward Facing Dog, step your right foot to the inside of your right hand.
- Step your left foot toward the front of your mat about five inches and out to the left side about 3 inches. (Distances may vary depending on your size and flexibility.)
- Lower your left heel so that your toes are turned out about 45 degrees.
- Straighten both legs, lifting your hips. If your hands come off the floor, take blocks underneath them.
- If you need more stability, you can step your left foot farther out to the left side of your mat. Both hips continue to face the front of the mat.
- Inhale to come to a flat back. Exhale to lower your chest toward your right knee.
- Repeat this process of lengthening on the inhalation and deepening on the exhalation for about five breaths. Then switch sides.
30. Half Moon Pose (Ardha Chandrasana)
Half Moon steps things up a bit by incorporating balance but it’s also an exceptional way to open the hamstrings (yet again!), hips, ribs, and chest. If you are more of a beginner, you can substitute Triangle (Trikonasana) pose for a similar stretch with less chance of tipping over. A block also helps make this pose more accessible.
Instructions:
- From Downward Facing Dog, step your right foot to the inside of your right hand.
- Keep your right knee soft as you take your right hand forward about 5-10 inches (depending on your size). Come up on your right fingertips or bring the block under your right hand.
- Bring your left hand to your left hip and lift your left foot off the ground as you straighten your right leg.
- Stack your left hip over your right hip and lift your left leg to a parallel position to the floor, flexing the left foot.
- Lift your left arm to the ceiling and open your chest to the left side.
- Take your gaze up to your left fingertips.
- If you want a quad stretch/balance challenge, bend your left knee and take your left heel toward your glutes. Release your left hand and reach behind you to grab your left foot.
- After around five breaths, try the other side.
31. Garland Pose (Malasana)
Squatting was once quite a natural way to sit, but most of us have lost the habit and, with it, the ease. If your heels come up a lot, take a rolled or folded blanket underneath them. You can also place a block under your seat for additional support if this squat is very intense for you.
Instructions:
- Come to stand at the front of your mat with your feet about 12 inches apart.
- Turn your toes out and bend your knees to assume a deep squatting position.
- Bring your elbows to the insides of your knees and take your hands into Anjali Mudra at your heart. Use your elbows to push the knees apart gently.
Related Reading
- How to Get a Crook Out Your Neck
- Loss of Mobility
- How Does Flexibility Work
- Flexibility Gymnastics
- Are Women More Flexible Than Men
- What is the Impact of Age on Flexibility
- What is Passive Stretching
When Will I Reach Peak Flexibility?
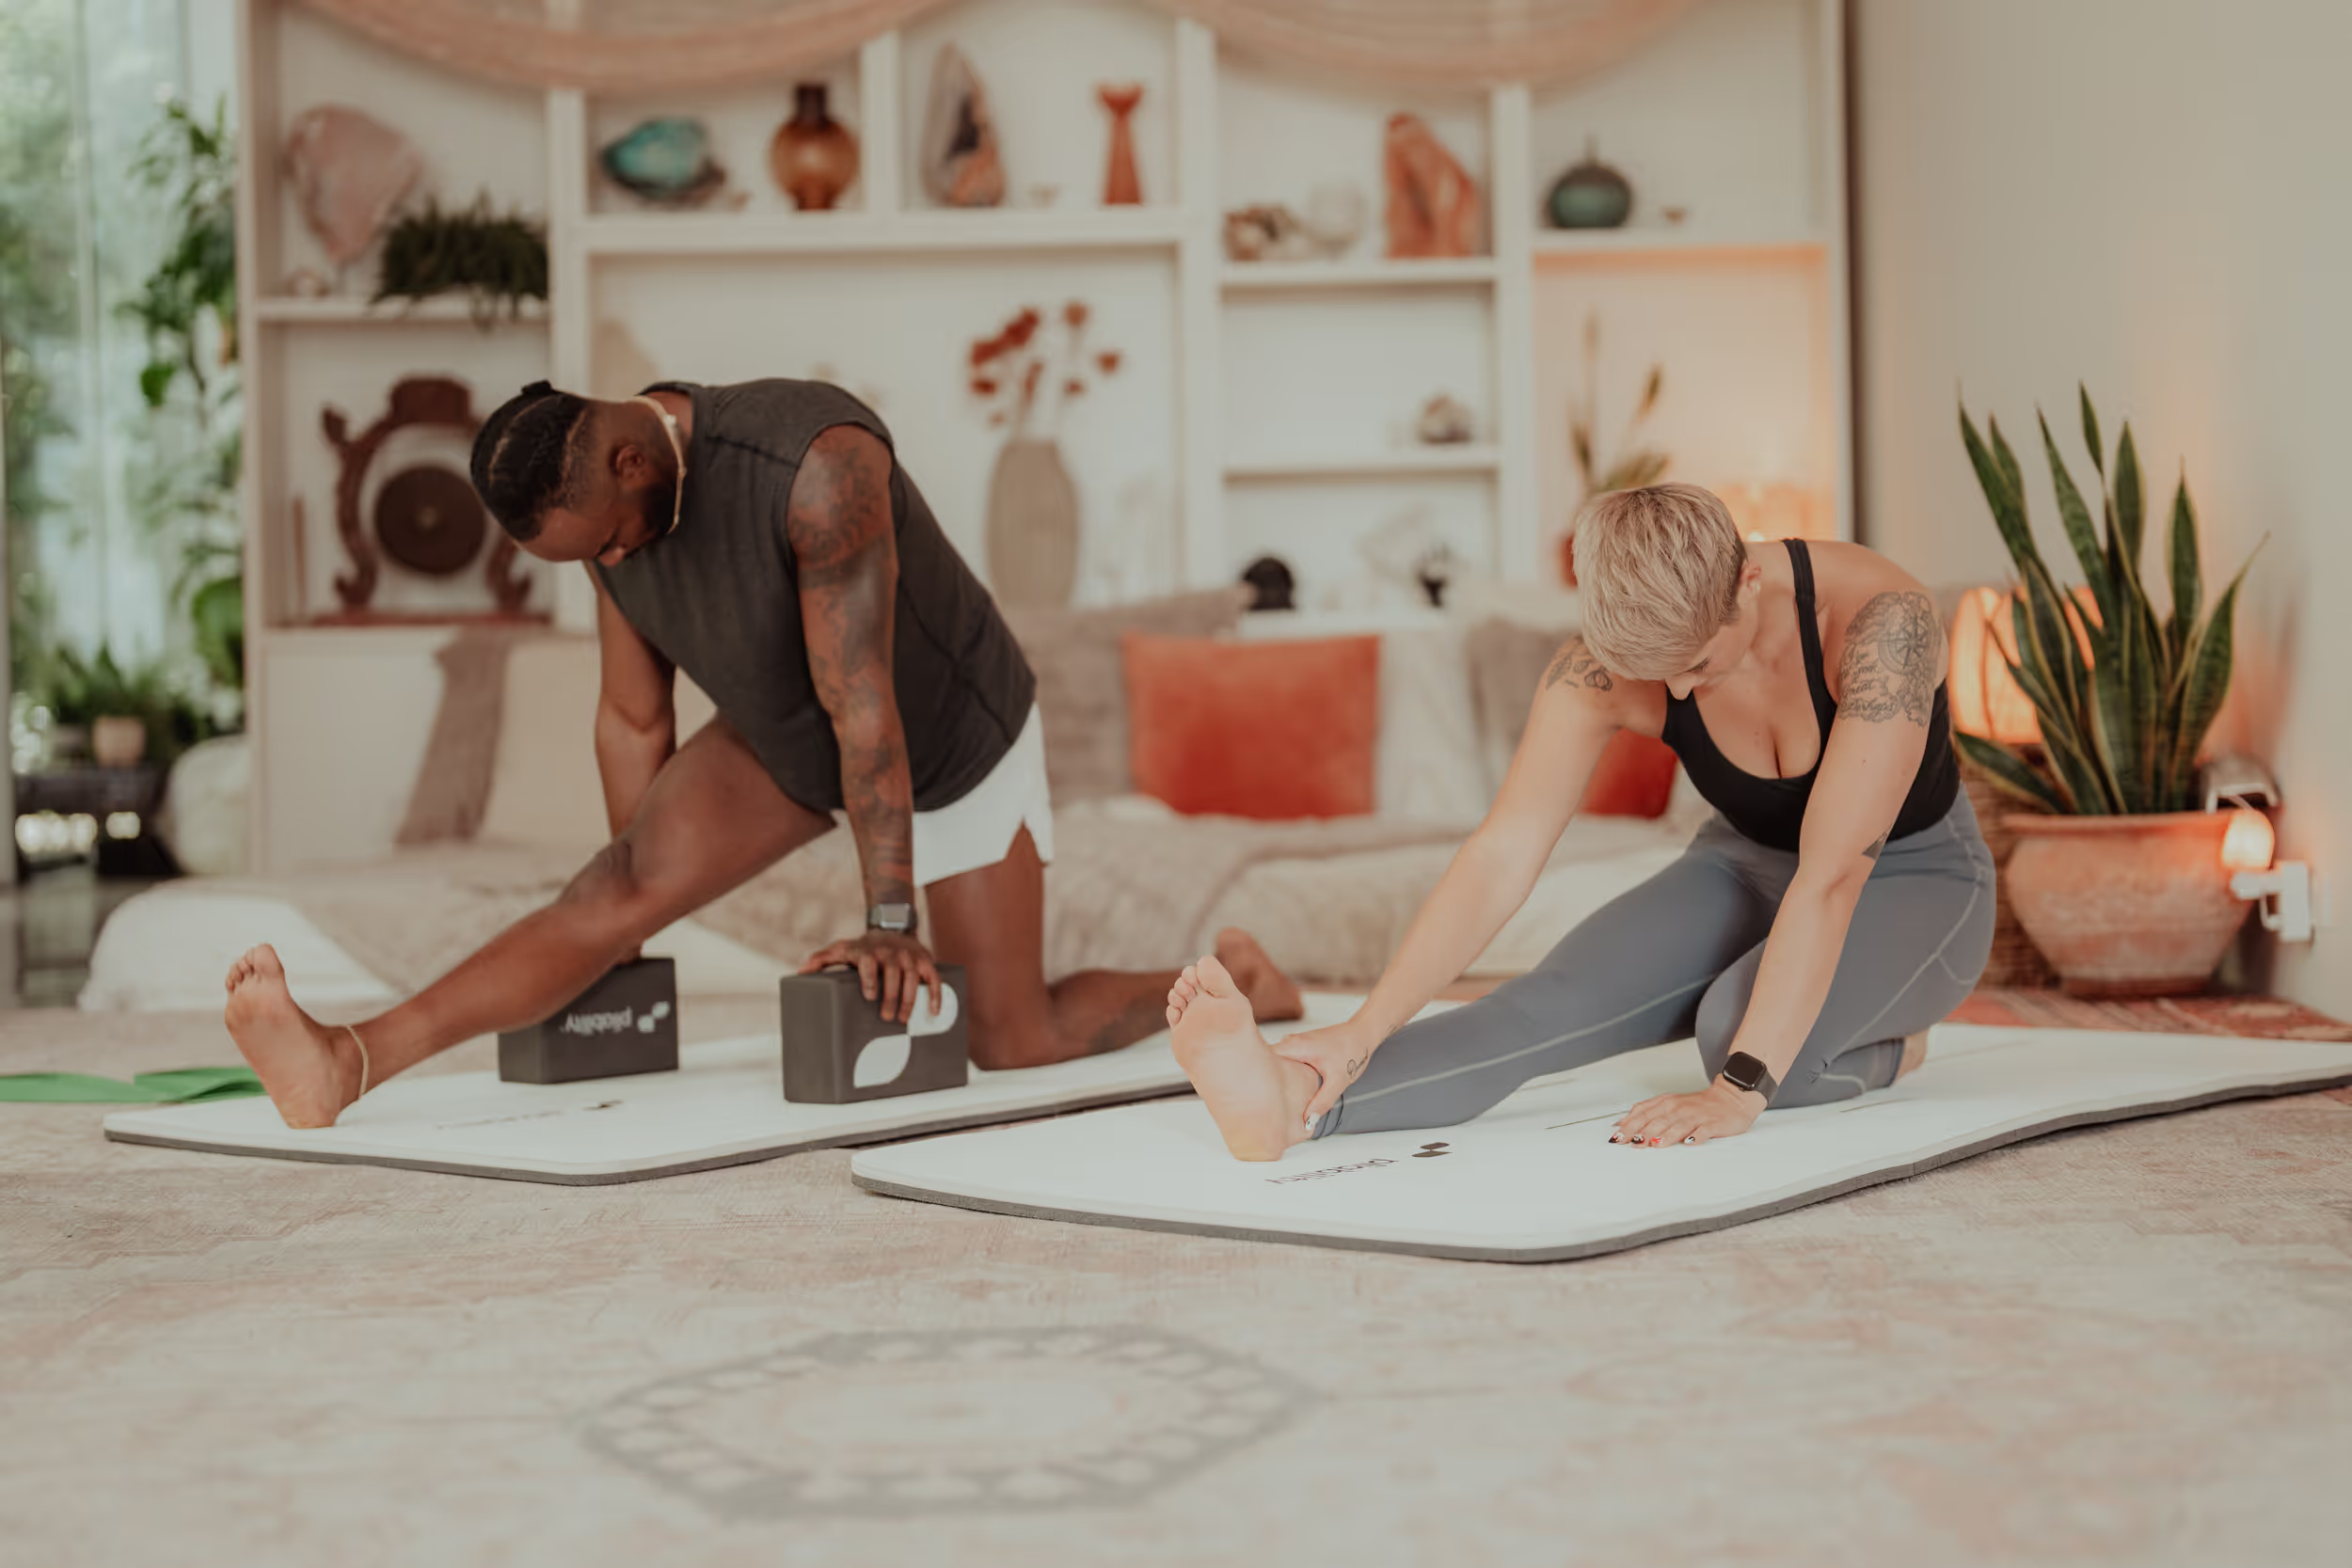
Improving flexibility is highly individualized. Factors like age, genetics, frequency of practice, and lifestyle all play a role. You won’t reach a specific goal and stop. Instead, you’ll build your range that can improve over time with regular, mindful yoga practice. There’s no single “peak” of flexibility. Patience, and listening to your body are key. Improvement matters more than perfection.
How Soon Will You See Results?
There’s no real timeline for how soon you’ll start seeing a more flexible you. Results will depend on a variety of factors, including your age, how often you practice, and the intensity of your average yoga sesh.
Practice Makes Better
The adage rings true: Practice makes perfect. (But of course, nobody’s perfect, so maybe it should be “Practice makes better.”) The more you regularly practice yoga, the more flexible you’ll become over time.
Play It Safe
Ready to get flexible AF? Not so fast! Before you jump into a yoga routine, keep these tips in mind to ensure you’re staying safe and not putting yourself at risk for injury:
Take Your Time
Don’t try to force your body into a pose or rush yourself.
Listen To Your Body
Yoga should make you feel good. Release a pose ASAP if you start to feel any pain or discomfort.
Gradually Increase Your Time
At first, you’ll likely be able to hold a pose for 10–20 seconds, which is fantastic! Over time, you’ll become more flexible and be able to hold poses longer.
Talk To Your Doctor
It’s a good idea to speak with your healthcare provider or a certified yoga instructor before jumping into a yoga practice, especially if you:
- Are you taking any meds
- Are pregnant or menstruating
- Have an injury or pain (including sciatica)
- Have asthma
- Have either high or low blood pressure
- Have respiratory or cardiovascular concerns
- Have digestive problems
How to Get Started
The good thing about yoga and stretching is that they don’t require much equipment and they can be done almost anywhere. To begin, find a space where you can move freely and safely. If you need props like:
- A chair
- A strap
- Blocks
Ensure they are nearby.
Pick Poses To Start With
Pick a few poses to start with. If you’re unsure where to begin, try taking a few deep breaths to clear your mind and check in with how your body feels. You might notice that your back or hips feel tight.
If so, you can choose stretches focusing on those areas. Over time, your yoga stretching can become more well-rounded, hitting all the areas of the body.
Safety Tips
While stretching has many benefits, there are some things to keep in mind to stay safe and prevent injury, such as:
Start Slowly
If you are new to yoga and stretching, it’s important to move at a slow pace and listen to your body.
Find a Stretch, Not Pain
The stretches may feel uncomfortable, but should not be painful. Pain is an indicator that you are pushing too far, too fast. If you feel pain, ease off on the stretch and find a point where you can stretch without feeling pain.
Modify for Your Unique Body
Modifications can be made to most yoga poses to make them work for you. Props are a great way to modify a pose.
They help with balance and make stretches more accessible. Do not be afraid to change as needed, even if your poses don’t look exactly like the photos as a result.
Related Reading
- What is Static Exercise
- Dynamic Movement
- Why Does Stretching Hurt
- Hip Opening Yoga Poses
- Proprioception Exercises
- Neck Mobility Exercises
- Flexibility Goals Examples
Improve Your Flexibility with Our Mobility App Today | Get 7 Days for Free on Any Platform

Pliability offers a fresh take on yoga, tailored for performance-oriented individuals and athletes. Our app features a vast library of high-quality videos designed to improve flexibility, aid recovery, reduce pain, and enhance range of motion.
Pliability provides daily-updated custom mobility programs for those interested in optimizing their health and fitness. It also includes a unique body-scanning feature to pinpoint mobility issues. If you're feeling limited by pain or ability to move, Pliability aims to complement your existing fitness routine and help you move better.
Sign up today to get 7 days absolutely for free, on iPhone, iPad, Android, or on our website to improve flexibility, aid recovery, reduce pain, and enhance range of motion with our mobility app.
