25+ Practical Mobility Tests for Adults to Support Healthy Aging
.webp)
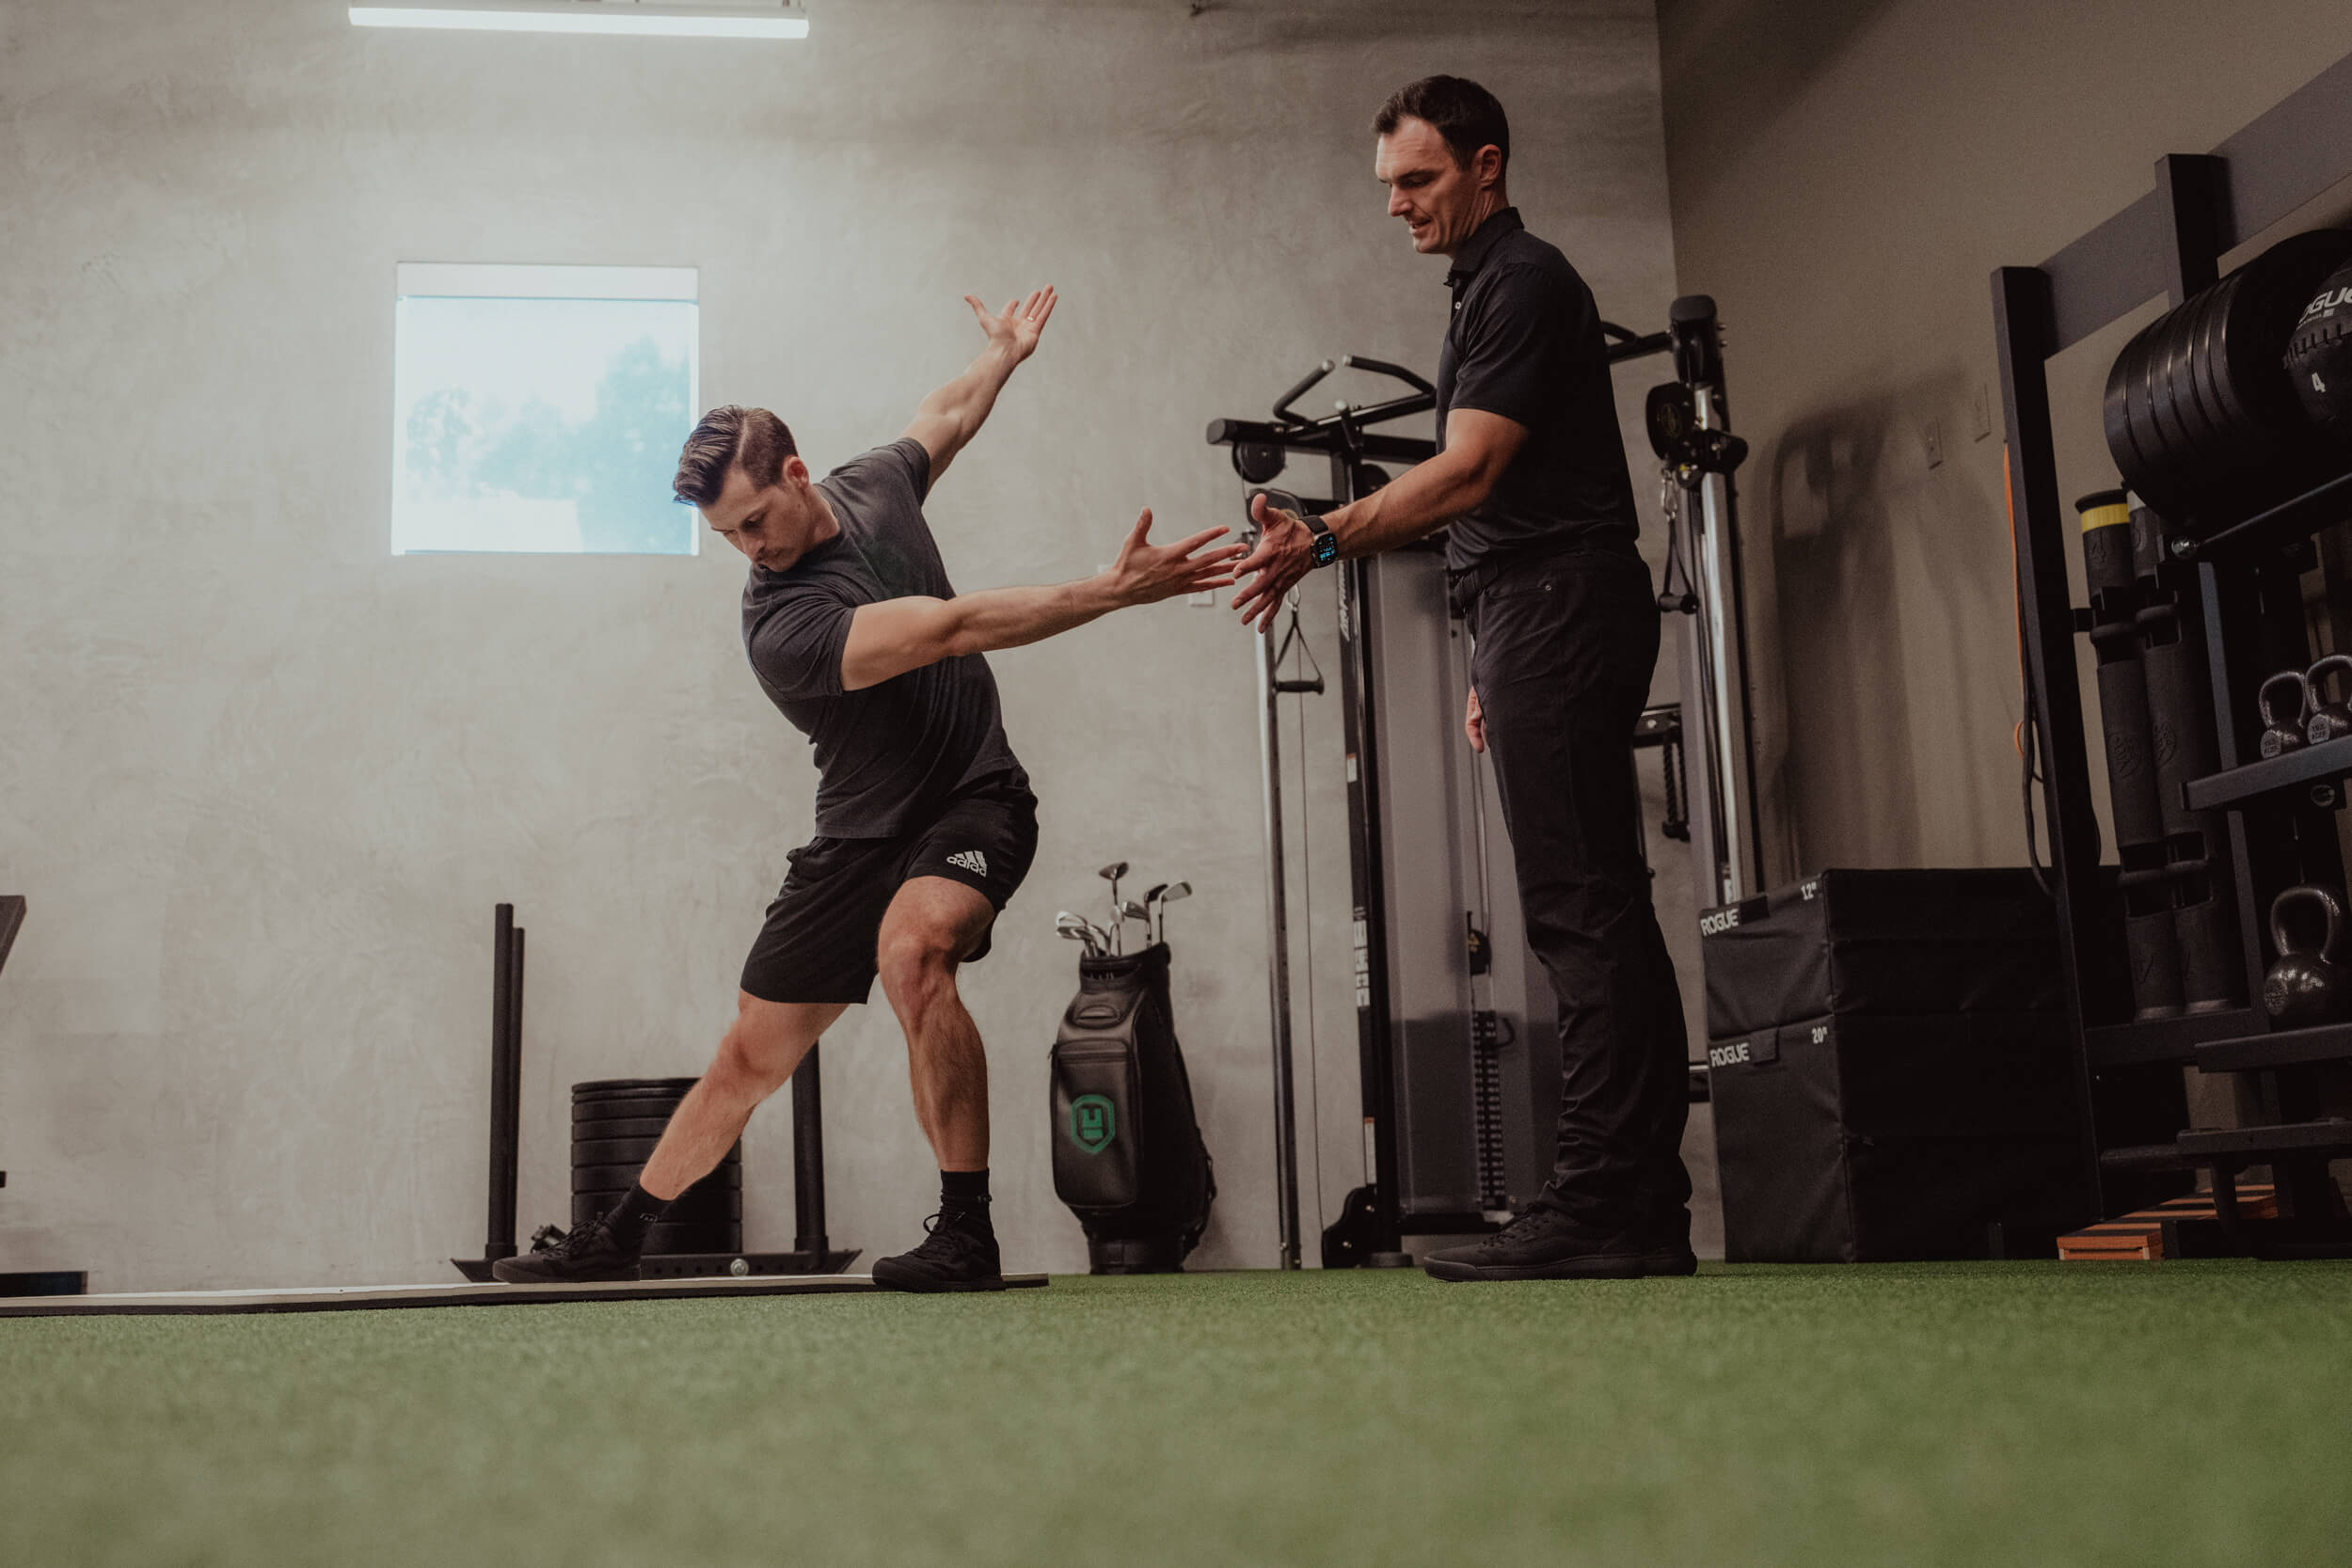
Performing everyday tasks like bending down to tie our shoes or reaching for items on a shelf can become increasingly challenging as we age. This loss of mobility can impact our independence and lead to a higher risk of falls and other injuries. Regular mobility tests can help us identify trouble areas before they become serious problems. Knowing how to measure flexibility is a crucial part of these assessments, as it allows you to track your progress and target specific limitations. This article will show you how to complete a mobility test, what the scores mean, and how to improve your results to help you maintain your independence and move comfortably as you age.
Pliability's mobility app offers a simple way to achieve your flexibility and mobility goals. The app helps users identify their trouble areas, provides targeted stretching routines to improve mobility, and makes tracking their progress over time easy.
What is a Mobility Assessment Test?

Mobility is simply the quality of movement throughout a given range, says Mike Masi, CPT, a certified personal trainer at Garage Gym Reviews. It can examine joints individually or as a confluence of muscle action, such as during a squat, hinge, or row. Mobility isn’t just about movement; it reflects your body’s flexibility, strength, and balance.
According to the National Institutes of Health, maintaining mobility as you age is a non-negotiable for living independently, preventing falls, and staying active. A mobility assessment is an essential component of the overall evaluation of well-being in an older person.
Everyday Triumphs of Aging
“Aging gracefully” doesn’t have to mean completing road races at 90. All power to the running, lifting, and pickleballing pensioners with zero intention of slowing down, but less heralded movements, opening a jar, leaning over to pull out a weed, getting up from a chair, all deserve to be considered triumphant at a certain age, too.
Consider that for every aging person hurtling towards life’s single guarantee, tasks that never used to warrant a second thought will one day become extremely difficult. Things will fall out of our hands, or we’ll fall ourselves, shattering vases and bones along the way.
Longevity Begins with Mobility
But too often, a senior’s self-confidence, motivation, and happiness bear the brunt of the damage. Longevity fitness isn’t just about finding ways to tack years onto one’s life, willy-nilly. It’s about preparing oneself to live well in later years, and many arrive.
One of the best ways to prepare for and preemptively appraise one’s longevity is to take periodical mobility tests.
Assessing Mobility: What’s the Score?
Mobility tests offer valuable insights into your overall health and well-being, revealing how well your body is aging. These aren’t sexy movements.
Mobility tests aren’t particularly rigorous, either. But taking note of how well you can reach, bend, scratch, and stroll will help piece together the precise areas where you could improve.
Which Joints Should I Test for Mobility?
There are many joints in our bodies that require mobility. Still, in this article, we will touch on the joints/areas that people often have mobility issues with:
- Shoulders
- Hips
- Thoracic Spine (Upper Back)
- Ankles
These areas are the most used in basic movements. The tests will be divided into the above joints. We will also provide some good exercises and resources to help you improve your mobility and flexibility.
Disclaimer: These are general guidelines that might not apply to everyone. You should always check with your doctor before exercising beyond your current limits.
Related Reading
- Why Do I Keep Getting Injured
- How to Prevent Soreness After Leg Day
- Why Am I So Inflexible
- Why Are My Hips So Tight
25+ Mobility Tests for Adults to Make Sure You’re Aging A-Okay

1. Forward Fold
From a standing position, hinge at your hips to fold your torso over your legs, aiming to touch your toes or the floor.
Takeaway
If you can touch your feet or the floor, you are very mobile through your hips, hamstrings, and posterior chain.
2. Banded Dislocates
From a standing position, hold a recovery band or stick with both hands just further than shoulder-width apart with a slight bend in your elbows.
Raise your arms overhead, then rotate them until the band or stick passes over your head and ends up by your lower back or glutes. Rotate your arms up and forward over your head again to return to the starting position.
Takeaway
If you can perform this entire movement and keep your elbows straight as you rotate your shoulders, your range of motion through your shoulders and your flexibility through your chest is great.
3. Couch, Wall, or Bench Stretch
This movement is a great way to check the tightness of your quadriceps or quads. Kneeling in front of a couch, bench, or wall with your hands on the floor, lift your right foot off the floor and position it on the surface behind you with the sole of your foot pointing upwards and your heel near your glute. Step forward with your left foot, then slowly lift your torso. Repeat on the other side.
Takeaway
If you can get your knee close to the wall, bench, or chair (or whatever you are using at home) and get your back close to the wall or in line with your knee, you have flexible quad muscles.
4. Wall-Facing Overhead Squat
Stand facing a wall with your feet a few inches away and your hands reaching above you, touching the wall.
While keeping your hands in contact with the wall, try to lower into a squat, aiming for your thighs to be parallel with the floor or deeper!
Takeaway
If you can’t achieve a full squat position, this exercise reveals limitations in your mobility and flexibility. You can also try this exercise with your hands on the wall directly before you, rather than outstretched above your head.
If you can’t complete this exercise with your arms overhead but you can complete it with your hands in front, your mobility may be more limited around your shoulders, torso, and spine. If you can’t complete either variation of this exercise, your lower body and trunk mobility may also need some work!
5. Butterfly
Sitting on the floor, bring the soles of your feet together and let your knees fall open.
Takeaway
You have great groin flexibility and external hip joint rotation if your knees are less than a fist away from the floor.
6. Prone Shoulder CARS
Lie on your stomach with your arms outstretched above your head, straight elbows, and hands in fists. Lift your hands off the ground, keeping your forehead on the floor, then circle your arms behind you to meet by your lower back. Bend your elbows to join your knuckles behind your back, then extend your elbows and circle your arms back to the start position.
Takeaway
If you can keep your hands off the floor throughout this exercise, you have excellent shoulder mobility and can safely press weights overhead with less likelihood of injury.
7. Rainbows
Lying on your back, bring your left knee into your chest, then rotate your body towards the right, letting your left knee come down towards the floor. Your leg should be bent at 90 degrees, and your right hand should hold your knee.
Extend your left arm straight out in front of you with your hand in a “thumbs down” position and your thumb touching the floor. Circle that arm above your head and around to the other side of your body as far as you can manage comfortably, as if you’re drawing a rainbow on the floor with your thumb!
Takeaway
You have great spine rotation and shoulder mobility if your thumb traces the floor and doesn’t lift off the entire way around.
8. Frog
Start on your hands and knees in a tabletop position. Keeping your knees bent at 90 degrees, open your knees as wide as possible, with your feet pointing outwards like a frog. Drop down to your elbows to help keep a neutral spine.
Takeaway
You have very tight groin and adductor muscles if you can't open your knees more than 90 degrees.
9. Hip internal rotation
Sit resting on your shins with your glutes resting on your heels and your knees together.
From this position, can you move your feet slightly outwards while keeping your knees together so your glutes are resting on the floor with your heels just beside them? Try moving your feet further away from your glutes for an added challenge.
Takeaway
If you can sit comfortably like this, you have good internal rotation of your hip joints. If you can keep your knees together in this seated position and then pull your heels away from your hips to a 45-degree angle, you have excellent internal rotation of hip joints.
10. The Chair Stand Test
Sit in a sturdy, armless chair with your feet flat on the floor. Cross your arms over your chest. Stand up and sit back down as many times as possible in 30 seconds.
What You Want at 65
Somewhere between 12 and 18 repetitions within the timeframe would demonstrate a solid command of lower body strength and functional mobility.
11. The 4-Stage Balance Test
Begin with your feet side by side. Progress to a semi-tandem stance (one foot slightly behind the other). Then attempt a tandem stance (one foot directly in front of the other). Finally, try standing on one leg. Time how long you can hold each position, with a maximum of 10 seconds per stage.
What You Want at 65
Successfully holding each position for 10 seconds indicates excellent balance.
12. The Sit-and-Reach Test
Sit on the floor with your legs extended in front of you and feet against a wall or box. Slowly reach forward with both hands, keeping your knees straight. Have someone measure the distance between your fingertips and your toes.
What You Want at 65
A score of 7-11 inches (or 18-28 cm) is considered average flexibility.
13. Overhead Shoulder Mobility
Lie down on your back, bend your knees at 90 degrees with your feet on the floor.
Lift both arms perpendicular to the floor. Slowly lower your right arm over your head to the floor as far as possible.
The ideal result is that your hand reaches the floor without arching your back off the ground.
Repeat with your left arm.
Result: If you had to arch your back to keep your arm straight on the floor, you have room for improvement.
Legs Up vs. Down
After you perform the test with your feet on the floor, try to do it with your feet up. Keep your knees bent to 90˚, but bring your feet off the floor so your upper legs are perpendicular to the floor.
Results:
- Legs Up & Can’t Touch: Likely Tightness in Lats
- Legs Down & Can’t Touch: Lack of Shoulder Mobility
14. Hip Abduction (+ External Hip Rotation):
Hip Abduction is when your leg moves away from your midline. To test your Abduction flexibility, sit down on the floor and tilt your pelvis so that you are sitting on your ‘sit bones’ (These have the coolest sounding anatomical name ever; ‘Ischial Tuberosity’. How cool is that?!) and not on your tailbone.
This is because your adductors (the main opposer to abduction) attach to your ischium and pubis (basically right on your sitting bones). This pulls your adductors taut and stops your pelvis from tilting to compensate for a lack of adductor flexibility.
Knees to Floor
Place your feet, bottoms together, in front of you. Bring your feet towards your groin, and then try to bring your knees to the floor. If you can do that, you have pretty good external hip rotation and at least good transverse abduction.
If you do not meet these criteria, you most likely have the following problem:
- Tight Adductors
- Tight Internal Rotators
15. Hip Extension
Hip Extension occurs when your leg travels behind your body. We will do the ‘Thomas Test’ to test your hip extension flexibility. This will also give you some other clues about your mobility.
Find a bench or table (any hard surface, nothing squishy like a bed) and lie down with your butt half hanging off the surface. Bring one knee to your chest and hold it there. Firmly push your lower back into the surface, then let the other leg hang, relax, off the surface.
Hip Extension and Flexibility Test
If your knee falls below 180 degrees to your body, past the surface, without your lower back coming off the table, you have good hip extension. If not, you most likely suffer from the following problem:
- Tight Hip Flexors (Iliopsoas)
The hanging leg should be able to relax and achieve 90 degrees of knee flexion; if not, you may suffer from the following problem:
- Tight Quads (Specifically the Rectus Femoris)
If your leg abducts (drifts outwards), then you may suffer from one or more of the following problems:
- Weak Adductors
- Tight TFL
16. Pike
The ‘Pike’ is a word for a forward bend in gymnastics. It is straight-legged hip flexion, but it involves different muscles than ‘hip flexion’ would in a squat, so I have not used the word hip flexion. This test primarily assesses Achilles tendon, gastrocnemius, and hamstring flexibility.
Stand with your feet together and your knees locked to perform the pike flexibility test. Hinge your hips forward while keeping a neutral spine by reaching the floor 1-2 feet before you, rather than your toes. Make sure your back stays flat the entire time.
Pike Flexibility and Mobility Test
You have good pike flexibility if you can get your torso flat 90 degrees from your legs! You have great pike flexibility if you can touch your palms to the floor with a flat back! If not, you may have one or more of the following problems:
- Tight Hamstrings
- Tight Calves (Gastrocnemius)
- Tight Achilles Tendon
To test your Pike Mobility, stand up and try to lift one leg (straight leg) up in front of you without leaning back or bending the leg you are standing on. If you can get to 90 degrees, you have good pike Mobility! If not, or not without bending your leg, you may have one or more of the following problems:
- Weak Hip Flexors
- Weak Rectus Femoris
17. Squat (Ankle Dorsiflexion, Hip Flexion, Knee Flexion)
The Squat, if you don’t already know, if the position you poop in if you are hopelessly lost in the forest after dinner. The squat is an excellent diagnostic tool for many things affecting your Mobility. The squat I’m talking about here is what you’ll see referred to as a ‘3rd world squat’, ‘asian squat’, or more innocuously, ‘resting squat’.
To perform this, just squat and lower down as far as possible, trying to keep your back flat and chest big the whole time. If you cannot get your butt to your heels, sit up straight or have your feet pointing forwards, you may have one or more of the following problems:
- Tight Calves (Soleus)
- Tight Glutes
- Tight Hamstrings
Ankle Dorsiflexion
Face a wall and get into a half-kneeling position with your front leg at 90˚ and foot flat on the ground pointing straight forward to the wall. Your front foot’s toes should be 4 inches away from the wall. Your back leg should be 90˚, knee to the ground with your toes and the ball of your foot on the ground.
Slowly shift forward so your front knee moves towards the wall. Try to touch your knee to the wall while keeping your foot flat to the ground. You can push the wall with your hands.
Note: Your knee will be moving directly over your foot. You can try this a couple of times.
Repeat with the opposite leg to test the other ankle.
Results: If your knee can touch the wall, you pass. If your knee is 1 inch away, that is abnormal mobility, and 2 inches away is very abnormal. But don't let the word abnormal scare you; it just means you need some or a lot of improvement.
18. Internal & External Shoulder Rotation Mobility
To test your right shoulder mobility, raise your left arm straight above your head.
Bend your left elbow, put your left palm on the back of your neck, and slide it down between your shoulder blades.
Take your right hand and reach behind yourself so your right palm rests on the middle of your back. Now reach down with your left hand while reaching up with your right. Try to bring the fingers of both hands together.
Shoulder Flexibility Finger Reach Test
Look in the mirror or ask a friend to measure the distance between your fingertips. If your fingers overlap, record that as well.
Now switch arms to test your opposite shoulder.
Results:
- Fantastic: Fingers overlap
- Above average: Fingertip touch
- Average: Fingers are less than 2 inches apart
- Needs improvement: Fingers are more than 2 inches apart
19. Spinal Flexion & Extension Mobility
Start on your hands and knees on the ground, stacking your hands under your shoulders. Keep your knees hip-width apart. We will be doing the cat-cow.
Press through your hands while rounding your upper back and protracting your shoulder blades (pulling them apart). Try to tuck your chin to your chest. This position is spinal flexion (cow position)
Cat-Cow Spinal Mobility Test
Slowly return your spine to neutral and then continue by pushing your chest down and arching your back, bringing your head up and retracting your shoulder blades (bringing them together). This is spinal extension (cat position).
Results: If you couldn’t achieve full flexion and/or extension in your spine, there’s plenty of room for improvement.
20. Thoracic Rotation Mobility
Get kneeling and place a yoga block, book, or a thick towel between your knees. Sit down onto your heels and push your thighs into the yoga block or whatever you choose, creating a squeeze inward.
Note: If your knees or ankles hurt in this kneeling position, you can also do this from a seated position in a chair.
Upper Back Rotation Exercise
Place your right hand on your left shoulder and your left hand on your right shoulder (underneath your right arm). Keep the contact with your hands to your shoulders and elbows up to about shoulder height, and rotate to your right side as far as possible.
Then slowly return to the center. Do this a couple more times, as you should be able to go further for each rep.
Upper/Mid-Back Rotation Instructions & Results
Be sure to keep your hips and knees squared forward as you rotate. This is purely about upper/mid-back rotation. Squeezing your thighs into the block will help you keep your hips squared forward.
Next, switch sides. With your right hand going underneath your left arm, rotate to your left side. Do this for a few reps.
Results:
- Less Than 45˚ of Rotation: Needs Improvement
- Pass Test: ~45˚ Rotation
21. The Wall Angel Test
Stand with your back against a wall, with your arms raised to form a “W” shape. Slide your arms upward into a “Y” shape, keeping your arms and back in contact with the wall.
What You Want at 65
Fluid motion, without pain or compromise. This test can reveal issues with shoulder mobility and posture. Considering how sedentary the workplace is becoming, we should all be thinking about the latter.
22. The Heel-to-Toe Walk Test
Find a flat, straight surface (hallways and sidewalks work well) at least 10 feet long. Walk in a straight line, placing the heel of one foot directly in front of the toes of the other foot with each step. Continue for at least 10 steps.
What You Want at 65
The ability to complete the test without losing balance or veering off. If you can make short work of it, you’ve a great mix of lower body strength, coordination, and proprioception.
23. The Arm Curl Mobility Test
Sit in a sturdy, armless chair with a dumbbell in your dominant hand (10 pounds at most). With your arm at your side and palm facing up, curl the dumbbell towards your shoulder as many times as possible in 30 seconds.
What You Want at 65
Try for 15 repetitions in 30 seconds. We don’t typically endorse lifting quickly, but in this case, if you can go up and down at a fast cadence, that’s a good sign. Feel free to lift heavier at the gym and attempt some bodyweight moves. Make use of the assisted weight features, too!
24. The Trunk Rotation Mobility Test
Sit on the floor with your legs extended in front of you and your feet shoulder-width apart. Retrieve that trusty broomstick and hold it behind your neck, resting it on your shoulders. Rotate your trunk to one side as far as possible, keeping your legs and hips stationary.
Hold the position for a few seconds, then rotate to the opposite side. Repeat for 10-15 repetitions on each side.
What You Want at 65
Completing the test with a full range of motion (and without pain) means you’re in command of your trunk flexibility and rotational mobility.
25. 5 Times Sit-to-Stand Test (5xSST)
Find a sturdy chair with a back, no armrests, and a standard seat height. “Sit in the middle of the chair with your feet flat on the floor and arms crossed over your chest. Start a stopwatch, stand up fully, then sit back down, repeating this motion five times as quickly as possible without using your arms for support. Stop the stopwatch when you sit down on the fifth repetition and record the total time taken to complete the five repetitions,” instructs Masi.
Interpret your timed results based on the following:
Under 10 seconds
Generally considered an excellent score, indicating good lower limb strength and balance.
10 to 15 seconds
Typical for healthy adults and suggests adequate functional mobility.
15 to 20 seconds
This range of scores may indicate some level of functional impairment. Older adults with this range of scores may experience difficulty with daily activities that require lower body strength and balance.
Over 20 seconds
Suggests significant difficulty with functional mobility. Masi says those who take longer than 20 seconds are at an increased risk for falls and may require intervention or rehabilitation.
26. Timed Up and Go (TUG) Test
To perform this mobility test, sit in a chair with your back firmly against the back and your arms on the armrests. Masi tells us, “Start a stopwatch, then stand up from the chair, walk three meters, turn around, walk back to the chair, and sit down again. Stop the stopwatch as soon as you sit down.”
Masi explains that you can interpret the TUG test results based on the following time criteria:
Under 10 seconds
Generally indicates good mobility, suggesting you can move freely without significant risk of falls.
10 to 20 seconds
This is typical for healthy adults who are independent in their daily activities. A time over 20 seconds suggests impaired mobility, balance issues, or other conditions affecting physical function. This score is associated with a higher risk of falls and may indicate the need for further evaluation or intervention.
27. 6-Minute Walk Test (6MWT)
For this test, you’ll need a flat, straight walking area, typically 30 meters long, a stopwatch, and cones or markers to indicate the turnaround points. “Start by walking as far as possible in six minutes, beginning at your natural pace from the starting line,” says Masi. “You can slow down, stop, and rest as needed, but the stopwatch continues running. Turn around the markers at each end of the course and continue walking until six minutes have elapsed. Record the distance covered at the end of six minutes.”
Here’s how to interpret your results, according to Masi:
Less than 350 meters
Suggests limited functional capacity and is often associated with higher morbidity and mortality rates in older adults and patients with chronic conditions.
350 to 500 meters
This may indicate moderate impairment in physical condition, often seen in older adults with chronic conditions or reduced physical activity levels.
Over 500 meters
Generally indicates better functional status and endurance levels.
Related Reading
- Why Can't I Straighten My Arm After Working Out
- Why Are My Hamstrings So Tight
- Why Does My Leg Shake When I Stretch
- Fitness Assessment
- Sit and Reach Flexibility Test
- How Flexible Are You
10 Best Mobility Exercises to Improve Your Range of Motion and Help Nix Aches and Pains

1. World's Greatest Stretch: A Dynamic Warm-Up Move That Improves Flexibility
This exercise stretches multiple muscle groups in the legs, hips, and torso to improve flexibility and range of motion. It’s also an effective way to warm up before physical activity.
How to:
- Start in high plank with wrists under shoulders
- Step forward and plant your right foot outside your right hand to achieve a deep lunge position. (Left knee can be straight or slightly bent, resting on the mat.)
- Lift right hand from the mat, bend right elbow, and reach left forearm down toward the mat between the right foot and the left hand
- Hold position for one second. Rotate trunk towards right and reach right hand toward the ceiling. Hold this position for one second. That’s one rep
- Repeat the sequence for 8-10 reps on the same side, then return to the starting position to repeat on the opposite side
2. 90/90 Hip Switch: A Simple Movement to Improve Hip Mobility
Tightness in the hips can negatively impact your performance and mobility. This exercise targets the internal and external rotators of the hip to improve range of motion and relieve stiffness.
How to:
- Sit up straight with legs slightly wider than shoulder-width apart and knees bent at 90 degrees
- Maintain an upright posture, keep heels on the floor (in the same position), and rotate knees to one side, with movement coming from the hips. (Hold arms straight in front of you for an added challenge.)
3. Return knees to center, then down to the other side. That’s one rep
4. Complete six reps
3. Cat Cows: An Effective Stretch for the Spine
This gentle yoga pose increases spine flexibility and relieves back, neck, and hips tension.
How to:
- Start on hands and knees with hands shoulder-width apart and knees directly below hips.
- Inhale and pull the belly button to the spine to curve the lower back. Hold this “cow” position for 2-3 seconds.
- Slowly transition to the “cat” position by arching back and looking up at the ceiling. Hold the “cat” position for 2-3 seconds. That’s one rep.
- Complete eight reps.
4. Downward Dog Hip Opener: A Classic Yoga Pose to Increase Flexibility
Downward dog and its variations help stretch and lengthen multiple muscle groups, especially the hips and legs.
How to:
- Start in plank position with shoulders stacked over wrists and hands.
- Push back from hands and hike hips up to get into downward dog position.
- Bend left knee in towards chest, then lift left leg up and back.
- Open up from the hip, letting the left foot fall towards the right glute. Reverse the movement to return to the start. Repeat on the other side. That’s one rep.
- Complete eight reps.
5. Half Kneeling Adductor Rock: A Gentle Exercise to Improve Groin Flexibility
This exercise targets the adductor muscles crucial for supporting hip movement and stability. Improving flexibility in the adductors can help reduce the risk of hip and groin injuries.
How to:
- Start in a half-kneeling position, with your left leg in front, knee bent, and foot planted on the floor. Your right knee rests on the floor directly beneath your torso or slightly behind you, with an approximately 90-degree bend.
- Step the left foot out to the left and place your hands on your hips. Shift hips toward the left and weight onto the left foot.
- Hold this position for 1-2 seconds before returning to center. That’s one rep.
- Repeat for 8-12 times on this side. With each repetition, try to shift the hips a bit deeper into the range.
- Return to the starting position and repeat on the opposite side for 8-12 reps.
6. Thread The Needle: A Simple Move to Release the Lower Back and Hips
This gentle exercise increases flexibility in the thoracic spine, lower back, and hips while relieving tension in the surrounding muscle groups.
How to:
- Begin on all fours
- Lift your right arm towards the ceiling while keeping your gaze on the hand as you move
- Bring the arm back down and “thread the needle” between the left hand and left knee, dropping the right shoulder towards the floor. That’s one rep. Immediately reverse the movement for another rep
- Complete six reps, then repeat on the other side
7. Achilles Opener: A Simple Stretch for the Lower Legs
This exercise targets the Achilles tendon and calf muscles to improve flexibility and reduce stiffness.
How to:
- Stand with both feet slightly wider than hip-width apart and head facing straight on
- Step right leg back and slightly bend left knee, raising both hands over head in a straight line
- Hold for 30 seconds. That’s one rep
- Switch legs to hold for 30 seconds. (You should feel this stretch in the back of your legs, primarily in the Achilles area.)
8. Thoracic Extension: A Deep Stretch for the Upper Back
This exercise helps reverse the effects of poor posture by improving mobility in the thoracic spine.
How to:
- Lie face up on the foam roller with it positioned perpendicularly to your torso, under your upper back, with your feet flat on the floor.
- Clasp hands behind head and lift hips off floor.
- Gently allow the upper back to extend over the roller. (Only go as far as is comfortable; this stretch shouldn’t be painful.)
- Hold the stretch for a few seconds. That’s one rep.
- Repeat for 10 reps, holding in different sections on the foam roller.
9. Figure 4 Windshield Wipers: A Gentle Exercise to Release the Hips
This exercise targets the piriformis muscle and other deep hip rotators to improve flexibility and relieve tightness.
How to:
- Lie face up on the floor with both arms relaxed at your sides and legs straight.
- Bend the left knee and place the foot flat on the floor.
- Lift the right leg off the floor and place the right ankle on the left thigh.
- Slowly lower legs toward the left until the left thigh touches the floor, or until the point of tolerance. Hold for two seconds.
- Slowly rotate legs toward the right until the right thigh touches the floor, or until the point of tolerance. Hold two seconds. That’s one rep.
- Complete eight reps.
Pro tip: Keep the motions slow and controlled as you try to go deeper into the range of motion.
10. Sky Squat Reaches: A Dynamic Stretch for the Hips
This exercise improves mobility in the hips and lower body while also advancing squat technique.
How to:
- Stand with feet slightly wider than hip-width apart, and slowly lower down to a deep squat.
- Keep both heels and forefoot on the floor and reach across the body with the left hand to hold the right ankle.
- Reach right arm up and away toward the ceiling and rotate torso toward the right. The gaze should follow the right arm. Hold for two seconds, then return to the center position. That’s one rep.
- Complete eight reps on each side.
Related Reading
- How to Test Hip Mobility
- Ankle Mobility Test
- Shoulder Flexibility Test
- Why Should You Measure Your Level of Flexibility?
- Why Are Dynamic Flexibility Tests Not Used as Often as Static Flexibility Tests?
Improve Your Flexibility with Our Mobility App Today | Get 7 Days for Free on Any Platform

Pliability offers a fresh take on yoga, tailored for performance-oriented individuals and athletes. Our app features a vast library of high-quality videos designed to:
- Improve flexibility
- Aid recovery
- Reduce pain
- Enhance range of motion
Pliability provides daily-updated custom mobility programs for those interested in optimizing their health and fitness. It also includes a unique body-scanning feature to pinpoint mobility issues. If you're feeling limited by pain or ability to move, Pliability aims to complement your existing fitness routine and help you move better.
Start Free Today!
Sign up today for 7 days absolutely for free on iPhone, iPad, Android, or our website to improve flexibility, aid recovery, reduce pain, and enhance range of motion with our mobility app.
.jpg)


